

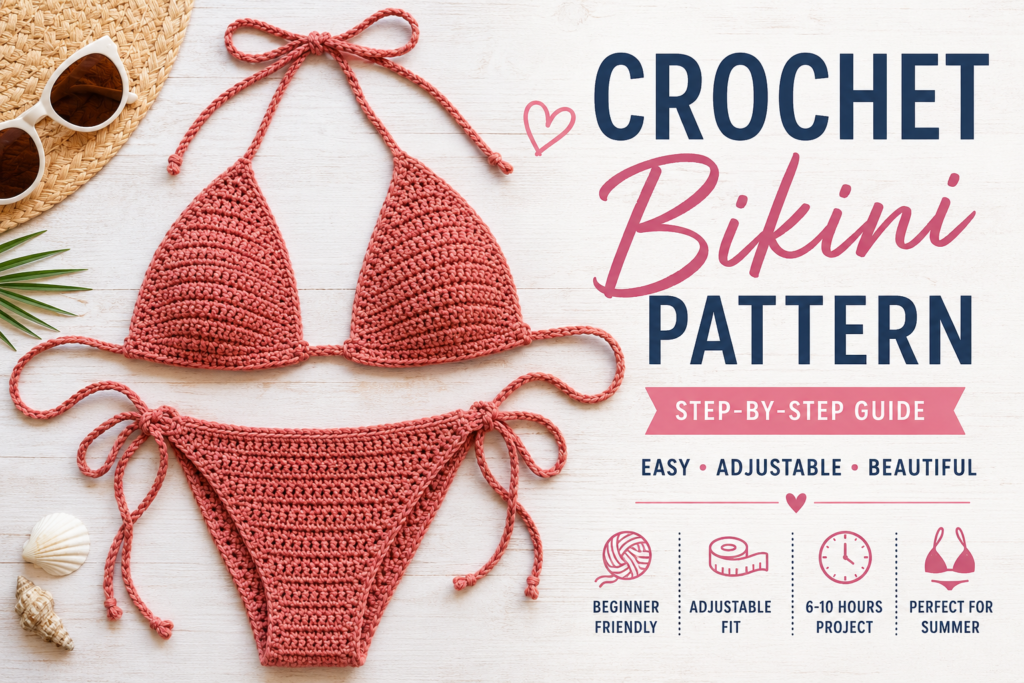
Make your own beautiful handmade bikini with this easy crochet bikini pattern. This design is based on a classic triangle bikini top with adjustable straps and matching tie-side bikini bottoms.
The pattern is written as a flexible guide so you can adjust the size, coverage, colors, and finishing details to create a bikini that feels comfortable and personal.
Skill Level: Easy to Intermediate
Finished Time: Approximately 6–10 hours
Construction: Two triangle cups, adjustable ties, and matching bikini bottoms
Sizing: Adjustable using measurements and fit checks
Materials Needed
Before starting this crochet bikini pattern, gather the following materials:
- Lightweight yarn suitable for garments or swimwear
- Crochet hook recommended for your chosen yarn
- Scissors
- Yarn needle
- Stitch markers
- Measuring tape
- Optional fabric lining
- Optional elastic for additional support
Yarn Amount
The amount of yarn will depend on your size, yarn weight, stitch choice, and desired coverage.
As a general guide, keep enough yarn available for:
- Two bikini cups
- Straps and back ties
- Bikini bottoms
- Optional decorative edging
Buying a little extra yarn is helpful if you plan to make adjustments.
Crochet Bikini Pattern Gauge
Gauge is important because it helps you create a bikini that fits closer to the intended size.
Suggested Gauge Swatch
Before starting, crochet a small test square using the stitch pattern you plan to use.
A simple gauge sample can be made with:
- 15–20 stitches
- Several rows of your main stitch pattern
Measure the swatch after it has relaxed.
Gauge Note
There is no single universal gauge for every yarn and hook combination. Your final measurements matter more than simply matching a stitch count.
If your crochet fabric is too loose:
- Try a smaller hook
- Use tighter tension
If your crochet fabric is too tight:
- Try a larger hook
- Relax your tension slightly
Important: Always make a small test swatch before beginning the full bikini.
Finished Size and Fit
This crochet bikini pattern is designed to be adjusted while you work.
Measure the following areas before starting:
- Bust or cup width
- Desired cup height
- Underbust measurement
- Waist measurement
- Hip measurement
- Desired bikini bottom coverage
The easiest way to achieve a good fit is to compare your crochet pieces with your measurements as you go.
Step 1: Crochet the First Bikini Cup
Start by creating a foundation chain.
The length of your starting chain will depend on the width you want for the bottom of the bikini cup.
Basic Triangle Construction
- Chain the desired starting length.
- Turn and crochet across using your chosen stitch.
- Add increases at the center or designated shaping point.
- Continue working rows to gradually create a triangle shape.
- Repeat until the cup reaches your desired height.
For a classic triangle bikini, the bottom edge should be wide enough to provide your preferred coverage.
Fit Check
Hold the unfinished cup against your body or compare it with a well-fitting garment.
Do not worry if the stitch count differs from another pattern. The goal is a comfortable fit based on your own measurements.
Step 2: Shape the Crochet Bikini Cup
Continue working rows until the triangle reaches the desired height.
You can create a:
- Small triangle for minimal coverage
- Medium triangle for standard coverage
- Larger triangle for additional coverage
Try the cup against your body before fastening off.
Blocking Note
Do not permanently block the bikini cup before confirming the fit.
Some yarns may relax after washing or getting wet. If your chosen yarn changes shape easily, consider testing a small swatch first.
Step 3: Crochet the Second Bikini Cup
Repeat the same process to create the second cup.
Place both cups next to each other and compare:
- Width
- Height
- Number of rows
- Overall shape
Make adjustments before moving to the straps.
Helpful Tip
Using the first finished cup as a reference makes it easier to create a matching second cup.
Step 4: Add the Bikini Bottom Band
Place both crochet cups in the position you want them to sit.
You can connect them using:
- A long crochet band
- Separate ties
- A chain-space construction
- A decorative connecting section
For a simple adjustable design, create a long chain from one cup, work across the bottom area, connect the second cup, and continue with another long chain for the back tie.
Make sure the band is long enough to comfortably tie around the body.
Step 5: Add the Neck Straps
Attach yarn to the top corner of each bikini cup.
Chain until the strap reaches your preferred length.
You can use:
- Simple crochet chains
- Narrow rows of single crochet
- Braided straps
- Decorative cord ties
Repeat on the second cup.
Test the straps before fastening them permanently.
Step 6: Add Decorative Edging
A simple border can give your crochet bikini pattern a clean finished appearance.
Work around the edges using a stitch such as:
- Slip stitch
- Single crochet
- Picot edging
- Shell stitch
- Crab stitch
Keep the edging consistent around both cups.
Be careful not to pull the edge too tightly, as this can change the shape of the bikini.
Step 7: Start the Crochet Bikini Bottoms
The bikini bottoms can be made by starting with either the front or back panel.
Begin with a foundation chain based on your preferred crotch width.
Work back and forth while gradually increasing the width.
The front and back sections can have different coverage depending on your preferred style.
Step 8: Shape the Front Bikini Panel
Continue adding rows and increases until the front panel reaches the desired width and height.
Check the piece against your measurements regularly.
For a higher-rise style, continue adding rows until the panel reaches closer to your waist.
For a lower-rise bikini, stop earlier.
Fit Tip
Do not rely only on stitch counts.
Different yarns and crochet tension can produce very different finished sizes. Measuring the actual fabric is the best way to customize your crochet bikini.
Step 9: Crochet the Back Bikini Panel
Continue from the crotch section or create a separate panel, depending on your preferred construction method.
The back can be made with:
- Minimal coverage
- Standard bikini coverage
- Full coverage
- A Brazilian-inspired shape
Gradually increase the width until it matches your desired fit.
Try the piece against your body or compare it with a comfortable bikini bottom.
Step 10: Add the Side Ties
For an adjustable tie-side design, attach yarn to each side of the bikini bottom.
Create long chains for the ties.
You can:
- Chain the desired tie length.
- Turn and work back across the chain for a stronger strap.
- Fasten securely.
- Repeat for the remaining sides.
Leave enough length for comfortable knots or bows.
Step 11: Add a Waistband or Edging
Work a neat border around the top edge of the bikini bottoms.
A few rows of tighter stitches can add structure.
You may also add optional elastic if your chosen yarn and design require additional support.
Check that the waistband feels comfortable and does not pull too tightly.
Step 12: Add Optional Lining
A lining can provide additional comfort, coverage, and structure.
This is especially useful for:
- Openwork stitches
- Lace designs
- Light-colored yarn
- Swimwear-style projects
Cut the lining fabric slightly according to the finished crochet pieces and attach it carefully.
Make sure the lining does not pull or distort the crochet fabric.
Step 13: Weave in All Ends
Use a yarn needle to weave in every loose yarn end securely.
Pay special attention to:
- Straps
- Tie connections
- Bikini cup corners
- Side ties
- Bottom panel joins
Because swimwear experiences movement and stretching, secure finishing is especially important.
Blocking Notes for Your Crochet Bikini
Blocking can improve the shape and appearance of crochet fabric, but the method depends on the yarn you choose.
Before Blocking
Always check the yarn label.
Test your blocking method on a small swatch first.
Gentle Blocking Method
- Lay the finished crochet pieces on a clean towel or blocking surface.
- Shape them gently to the desired measurements.
- Pin only if your yarn is suitable for pinning and blocking.
- Allow the pieces to dry completely.
- Recheck the measurements after drying.
Important Blocking Note
Avoid aggressive stretching.
A bikini needs to maintain its intended shape and fit, so block gently rather than stretching the fabric as much as possible.
Finished Time
The estimated time for this crochet bikini pattern is approximately:
| Project Stage | Estimated Time |
|---|---|
| Gauge swatch and measurements | 20–40 minutes |
| First bikini cup | 1–2 hours |
| Second bikini cup | 1–2 hours |
| Band and straps | 45–90 minutes |
| Bikini bottoms | 2–4 hours |
| Edging and finishing | 30–60 minutes |
| Optional lining | 30–90 minutes |
On sale products
-
3D Daisy Keychain Crochet Pattern | Puff Stitch Flower PDF | Easy Crochet Gift Tutorial
$5.00$3.00 -
Alien Crochet Pattern Bundle, Amigurumi Plushie, Keychain Toy (PDF Download)
$6.00$3.00 -
Amigurumi Fruit Keychain PDF, Kawaii Bag Charm Tutorial, Beginner DIY Gift Project, Easy Handmade
$5.00$3.00 -
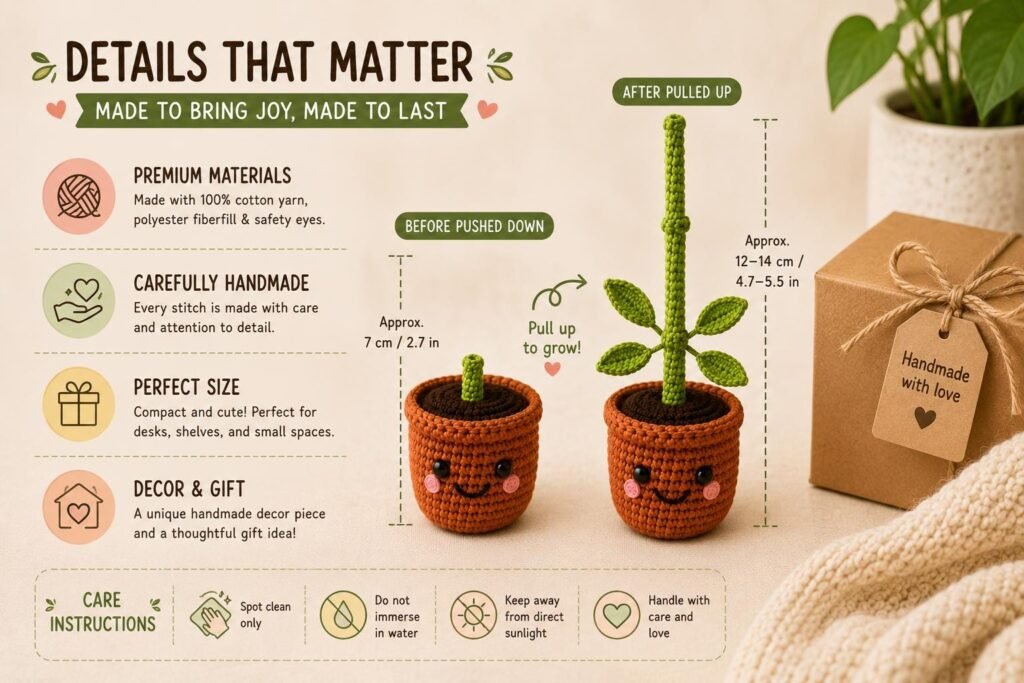
Amigurumi Plant Crochet Pattern PDF | Interactive Pull & Grow Pot Plant For Beginners
$6.00$3.00 -
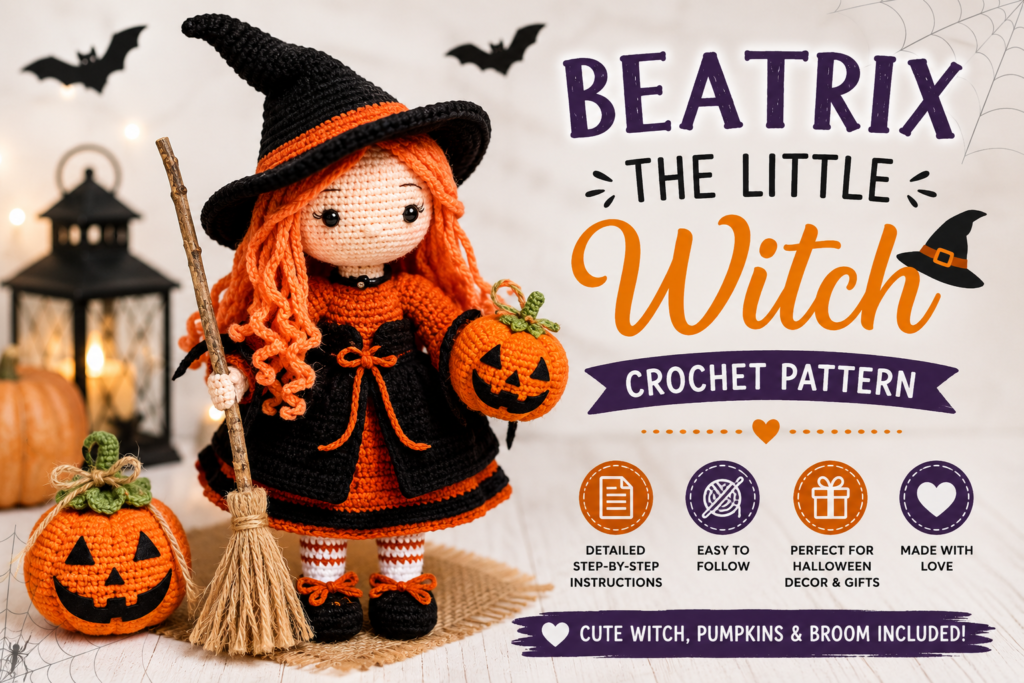
Beatrix the Little Witch Crochet Pattern PDF
$6.00$3.00
Total Estimated Finished Time
Approximately 6–10 hours
Your actual time may vary depending on:
- Crochet experience
- Yarn weight
- Stitch complexity
- Bikini size
- Decorative details
- Whether you add a lining
Customizing Your Crochet Bikini Pattern
One of the best things about this project is that you can easily change the design.
Change the Colors
Try:
- Classic black or white
- Bright tropical colors
- Soft pastel shades
- Rainbow stripes
- Two-tone color blocking
Change the Stitch Pattern
Once you understand the basic construction, experiment with:
- Shell stitch
- Ribbed crochet
- Granny square motifs
- Lace details
- Textured stitches
Add Decorative Details
You can also add:
- Fringe
- Tassels
- Crochet flowers
- Beads
- Decorative borders
- Matching cover-ups
Care Notes
Handmade crochet garments should be cared for according to the yarn manufacturer’s instructions.
Before wearing or washing your finished bikini, test a small swatch to see how the yarn reacts to water and drying.
Avoid assuming that every crochet yarn will behave the same way when wet.
Final Thoughts
This crochet bikini pattern is a flexible step-by-step project that you can adjust to create your ideal fit and style. Start with a simple triangle top, make matching adjustable bottoms, and personalize the finished set with your favorite colors and details.
Take your time with the gauge swatch, measure as you crochet, and check the fit before completing the final edging and finishing work. Those small steps can make a big difference in creating a handmade bikini that feels comfortable and looks beautiful.
Whether you prefer a classic triangle design, a high-waisted look, or a colorful boho-inspired set, this crochet bikini pattern gives you a strong starting point for your next handmade summer project.