
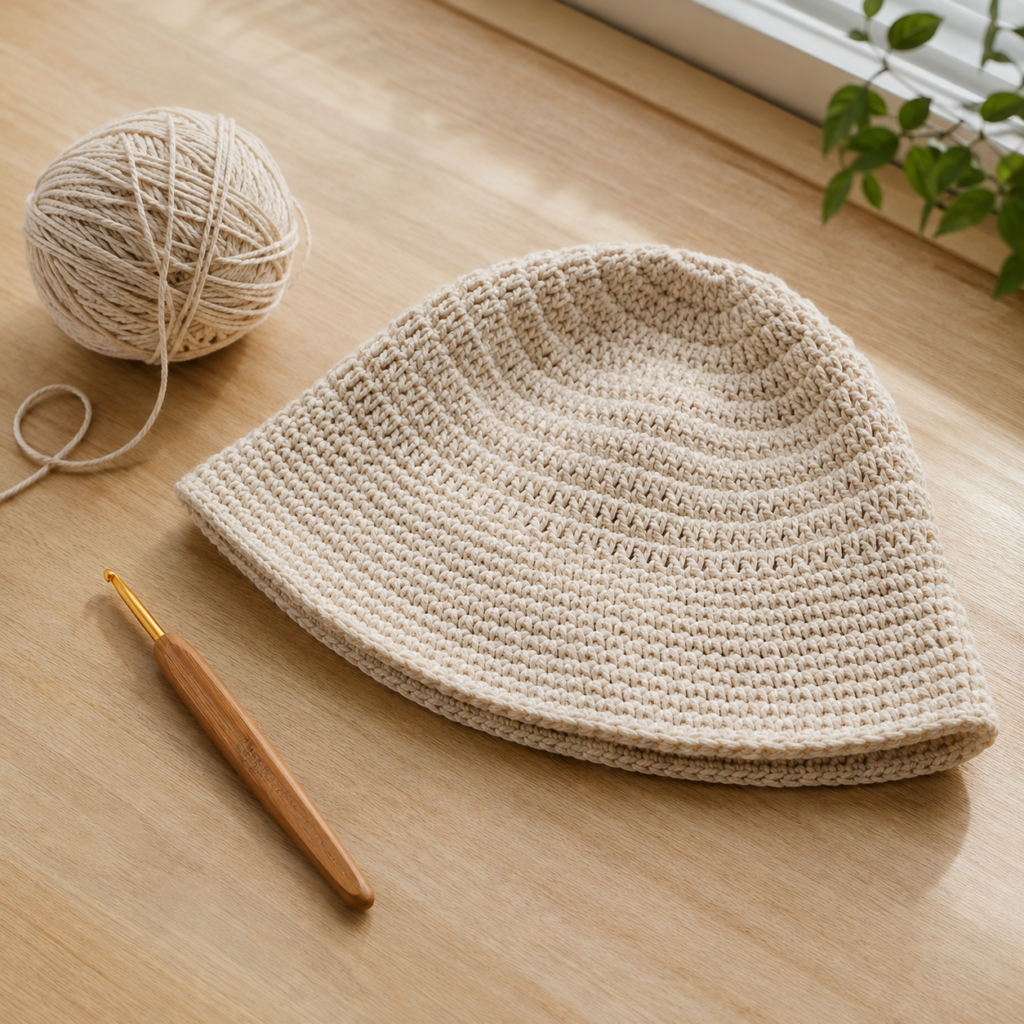
Bucket hats are the ultimate blend of style and sun protection, and making your own means you can choose the perfect colour and fit. This free crochet bucket hat pattern works up quickly in simple single crochet stitches, making it ideal for confident beginners. The hat is worked seamlessly in the round from the top down, so there’s no sewing together at the end. With a slightly slouchy crown, a crisp brim, and endless customisation possibilities, you’ll want to make one for every outfit.
Grab your hook and your favourite cotton or cotton-blend yarn—let’s make a bucket hat that’s as unique as you are.
Why You’ll Love This Free Crochet Bucket Hat Pattern
- Worked completely in one piece – no seaming required
- Quick to make with worsted weight yarn
- Easily customisable size and brim width
- Perfect for summer markets, beach days, and everyday wear
- Uses basic stitches – great for advanced beginners
Materials & Tools for Your Crochet Bucket Hat
- Yarn: Worsted weight (category 4) cotton or cotton blend, approximately 150–180 yds (137–165 m). I used Lion Brand 24/7 Cotton in “Ecru” and “Terracotta” for the samples.
- Hook: 4.5 mm (US 7) crochet hook, or size needed to obtain gauge.
- Notions: Stitch marker, tapestry needle, scissors, measuring tape.
Crochet Bucket Hat Pattern Abbreviations & Gauge
Abbreviations (US Terminology)
- ch – chain
- sl st – slip stitch
- sc – single crochet
- inc – increase (work 2 sc in the same stitch)
- st(s) – stitch(es)
- rnd – round
- BLO – back loop only
Gauge for This Crochet Bucket Hat Pattern
16 sc x 18 rows = 4” (10 cm) in single crochet worked in the round. Adjust your hook size if necessary—use a larger hook if your stitches are tight, or a smaller hook if you crochet loosely.
Crochet Bucket Hat Pattern – Sizing & Notes
This crochet bucket hat pattern free tutorial is written for an Adult Medium/Large, finished circumference approx. 21–22” (53–56 cm) and hat height about 7.5” (19 cm) before the brim.
- The hat is worked in continuous spirals. Use a stitch marker and move it up each round.
- Crown increases are evenly spaced; body is worked even; brim uses a new increase sequence.
- A BLO round creates a neat fold line – skip it if you want a softer drape.
How to Crochet a Bucket Hat: Step-by-Step Instructions
Crochet the Crown (Top of the Bucket Hat)
Rnd 1: Magic ring, 6 sc into ring. (6 sts) Do not join; place marker.
Rnd 2: 2 sc in each st around. (12 sts)
Rnd 3: *Sc in next st, inc; repeat from * around. (18 sts)
Rnd 4: *Sc in next 2 sts, inc; repeat from * around. (24 sts)
Rnd 5: *Sc in next 3 sts, inc; repeat from * around. (30 sts)
Rnd 6: *Sc in next 4 sts, inc; repeat from * around. (36 sts)
Rnd 7: *Sc in next 5 sts, inc; repeat from * around. (42 sts)
Rnd 8: *Sc in next 6 sts, inc; repeat from * around. (48 sts)
Rnd 9: *Sc in next 7 sts, inc; repeat from * around. (54 sts)
Rnd 10: *Sc in next 8 sts, inc; repeat from * around. (60 sts)
Rnd 11: *Sc in next 9 sts, inc; repeat from * around. (66 sts)
Rnd 12: *Sc in next 10 sts, inc; repeat from * around. (72 sts)
The crown circle should measure about 6.75–7” across. For a larger head, add one more increase round; for a smaller size, stop one round early.
Crochet the Hat Body
Rnds 13–26: Sc in each st around. (72 sts) Work until the body measures approx. 4.5–5” from the crown edge, or until the hat reaches just below the top of your ears. Add more rounds for a slouchier look.
The Brim Fold Line (Optional)
Rnd 27: Working in BLO, sc in each st around. (72 sts) This ridge makes the brim fold crisp. For a softer look, work through both loops as usual.
Crochet the Bucket Hat Brim
Rnd 28: *Sc in next 11 sts, inc; repeat from * around. (78 sts)
Rnd 29: Sc in each st around. (78 sts)
Rnd 30: *Sc in next 12 sts, inc; repeat from * around. (84 sts)
Rnd 31: Sc in each st around. (84 sts)
Rnd 32: *Sc in next 13 sts, inc; repeat from * around. (90 sts)
Rnd 33: Sc in each st around. (90 sts)
Rnd 34: *Sc in next 14 sts, inc; repeat from * around. (96 sts)
Rnd 35: Sc in each st around. (96 sts)
Brim width is now about 1.75–2”. For a wider brim, continue the increase pattern with one more increase and plain round. For a shorter brim, stop after Rnd 33.
Final Edge (optional): Work one round of reverse single crochet (crab stitch) or slip stitch to prevent curling. Fasten off.
Finishing Your Crochet Bucket Hat
Fasten off, leaving a 6” tail. Weave in all ends securely. Lightly steam block if desired, shaping the brim flat. A wash and gentle dry will soften cotton yarn beautifully.
Customise Your Free Bucket Hat Crochet Pattern
- Stripes: Change colour in the body section – pull through new colour on the last yarn over of the previous stitch.
- Embellishments: Add a faux leather tag, a crochet flower, or a ribbon threaded through the body.
- Texture: Swap plain sc rounds for half double crochet or lemon peel stitch (alternating sc and dc) – keep stitch count the same.
Share Your Crochet Bucket Hat
I hope you enjoy making your own bucket hat with this crochet bucket hat pattern free tutorial. Don’t forget to share your finished makes on social media and tag me—I can’t wait to see your colour combinations and style twists. If you have any questions, drop them in the comments below.
This pattern is for personal use only. You are welcome to sell finished hats made from this pattern with credit to the designer. Thank you for supporting free creative content!