
If you’ve ever scrolled through Pinterest or Instagram and felt a little pang of “I wish I could make that,” this guide is for you. Learning how to crochet a granny square for beginners is one of the friendliest ways to start your crochet journey, and by the end of this article, you’ll have the confidence (and the know-how) to make your very first square.
Granny squares are more than a nostalgic craft your grandmother used to make. They’re a genuinely brilliant beginner project. They use just a few basic stitches, they work up fast, and they turn into blankets, bags, pillows, and even sweaters once you know the trick. Whether you’re picking up a hook for the first time or brushing up on the basics, this guide walks you through everything from supplies to troubleshooting to creative color combos.
Let’s get you hooked (pun very much intended).
What Is a Granny Square?
A granny square is a small, square-shaped piece of crochet fabric made by working stitches in rounds, usually from the center outward. Each round adds a new layer, or “row,” until the square reaches the size you want. Once you have enough squares, you join them together to create anything from a coaster to a full-sized blanket.
The name “granny square” comes from the idea that these squares were commonly made by grandmothers using leftover scraps of yarn. Historically, they were a practical solution: instead of throwing away small bits of yarn, crafters used them to build colorful, patchwork-style pieces. This is also why so many vintage granny square blankets have such a wonderfully random, multicolor look.
Granny squares became especially popular in the 1960s and 1970s, when bold colors and geometric patterns were all the rage. They never really went away, though. Today, granny squares are a staple in modern crochet because they’re endlessly customizable, portable, and satisfying to make. You’ll find them in high-fashion runway pieces, cozy home décor, and baby blankets alike.
At its core, a crochet granny square is built from a simple repeating pattern: a cluster of double crochet stitches, a chain space, and a corner. Once you understand that basic rhythm, you can make a granny square almost without looking at a pattern.
Beginner Tip: Don’t worry about your first square looking “perfect.” Slightly wonky tension is completely normal when you’re starting out, and it evens out with practice.
Why Beginners Should Learn Granny Squares
If you’re wondering where to start with crochet, granny squares are hands-down one of the best entry points. Here’s why.
They Use Easy, Repeatable Stitches
You only need to know a small handful of stitches to make a classic granny square: chain, slip stitch, and double crochet. That’s it. Once you memorize the pattern of “3 double crochet, chain 2, repeat,” your hands start to know what to do almost automatically.
They’re Fast Projects
A single granny square can take as little as 10 to 20 minutes once you get the hang of it. That means you get the satisfaction of finishing something quickly, which is huge for staying motivated as a beginner. Nobody wants to spend three weeks on a project only to realize halfway through that they hate it.
They Build Real Skills
Even though granny squares are simple, they teach you foundational skills you’ll use in almost every future crochet project: how to work in the round, how to count stitches, how to keep even tension, and how to change colors cleanly. This makes granny squares a genuine stepping stone toward more advanced patterns.
They’re Portable and Forgiving
Granny squares are small, so they’re easy to toss in a bag and work on during a commute, while watching TV, or waiting at an appointment. And because each square is a self-contained project, a mistake on one square doesn’t ruin an entire blanket. You can just start a new one.
They’re Endlessly Customizable
Once you’re comfortable with the easy granny square crochet method, you can experiment with colors, yarn weights, and hook sizes to create completely different looks from the same basic pattern.
Beginner Tip: Practice with a light-colored, smooth yarn for your first few squares. Dark colors and fuzzy or textured yarns make it harder to see your stitches while you’re learning.
Crochet Supplies Needed
You don’t need a lot of fancy equipment to get started. Here’s a simple breakdown of what you’ll want to have on hand.
| Material | Purpose | Recommended Size/Type |
|---|---|---|
| Crochet Hook | Used to create and pull loops of yarn to form stitches | Size H/8 (5.0mm) for worsted weight yarn |
| Yarn | The material you crochet with | Worsted weight (Medium, #4) acrylic or cotton |
| Scissors | For cutting yarn at the end of rounds or color changes | Small, sharp fabric scissors |
| Yarn Needle (Tapestry Needle) | For weaving in loose ends | Bent-tip, large-eye needle |
| Stitch Markers | To mark the beginning of a round or a specific stitch | Locking stitch markers or a scrap of yarn |
| Measuring Tape | To check the size of your finished square | Soft fabric tape measure |
| Row Counter (optional) | Helps track how many rounds you’ve completed | Small clicker counter or a notebook |
| Project Bag | Keeps your yarn, hook, and tools organized | Small zippered pouch or tote |
Beginner Tip: You don’t need to buy every tool right away. A hook, yarn, and scissors are truly all you need to make your first beginner granny square.
Crochet Abbreviations (US Terms)
Crochet patterns are written in shorthand to save space. Here are the abbreviations you’ll run into most often as a beginner, using US crochet terms (which is what this guide uses throughout).
| Abbreviation | Meaning |
|---|---|
| ch | Chain |
| sl st | Slip stitch |
| sc | Single crochet |
| dc | Double crochet |
| hdc | Half double crochet |
| st(s) | Stitch(es) |
| sp | Space |
| rnd(s) | Round(s) |
| rep | Repeat |
| yo | Yarn over |
| sk | Skip |
| tog | Together |
| ( ) | Instructions to repeat as a group |
| [ ] | Instructions to repeat a set number of times |
| * | Marks where a repeated section begins |
Beginner Tip: Keep this table bookmarked or printed near your crochet spot. You’ll reference it constantly at first, and before long, you’ll have it memorized.
Basic Crochet Stitches You’ll Need
Before learning how to crochet a granny square for beginners, it’s important to understand the basic crochet stitches used throughout the project. These simple stitches are the foundation of almost every beginner crochet pattern and will help you build confidence before creating your first granny square.
Chain (ch)
The chain stitch is usually the very first crochet stitch every beginner learns. It creates the starting foundation for many crochet projects and is also used to make chain spaces between stitch clusters in a classic granny square. Try to keep your chains even and relaxed for the best results.
Slip Stitch (sl st)
A slip stitch is one of the shortest crochet stitches. It’s mainly used to join rounds, finish projects, or move your yarn to a new position without adding height. Insert your hook into the stitch, yarn over, and pull the yarn through both loops in one smooth motion.
Single Crochet (sc)
Single crochet creates a firm, dense fabric that works well for borders, edging, and joining granny squares. Insert your hook into the stitch, yarn over, pull up a loop, yarn over again, and pull through both loops on your hook. Some granny square variations also use single crochet for a more solid texture.
Double Crochet (dc)
Double crochet is the most important stitch in a traditional granny square. Most classic granny squares are made from groups of three double crochet stitches separated by chain spaces. This stitch creates the open, airy texture that makes granny squares so recognizable and beginner-friendly.
Magic Ring (Magic Circle)
The magic ring, also known as the magic circle, creates a tightly closed center with no visible hole. It’s the preferred starting method for many crochet projects, including granny squares. If you’re new to crochet and find the magic ring difficult, you can begin with a chain-4 loop joined with a slip stitch instead. Both methods produce beautiful results.
Beginner Tip: Practice each stitch several times before starting your granny square. Once these basic stitches feel comfortable, you’ll find it much easier to follow granny square patterns and complete your first project with confidence.
Step-by-Step Guide: How to Crochet a Granny Square for Beginners
This is the heart of the tutorial. Below, we’ll walk through the general process of making a traditional, classic granny square, round by round. We won’t be reproducing any specific copyrighted pattern — instead, this explains the universal method that most classic granny squares follow, so you can apply it with any yarn and hook combination.
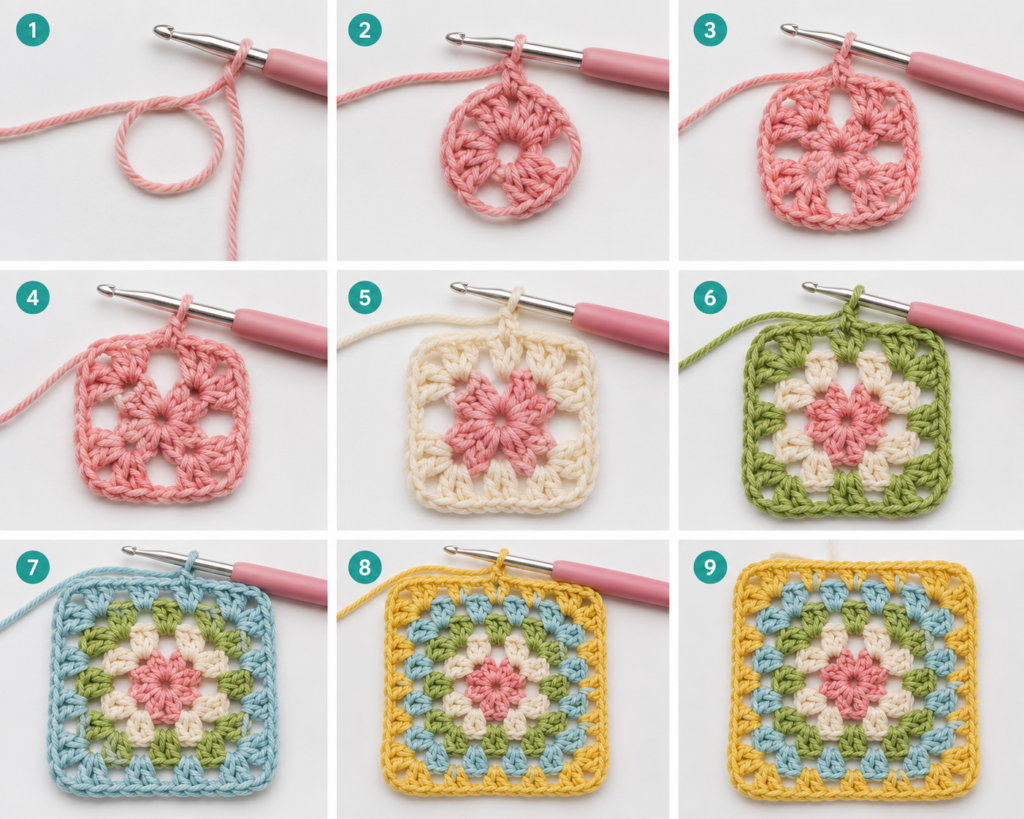
Step 1: Create Your Center Loop
Start by making a magic ring, or alternatively, chain 4 and join it into a circle with a slip stitch. This forms the very center of your square, and every round will build outward from here.
Step 2: Work Your First Round
Chain 3 (this counts as your first double crochet). Then work two more double crochet stitches into the center ring, so you have a group of three double crochets. Chain 2 to form a corner space, then work another group of three double crochets into the same ring. Repeat this pattern — three double crochets, chain 2 — until you have four groups total, one for each corner. Join the round with a slip stitch to the top of your beginning chain-3.
Step 3: Close and Begin the Next Round
At the end of each round, you’ll slip stitch into the top of the starting chain to close the circle. Then you’ll typically slip stitch (or chain and turn, depending on style) into the next chain-2 corner space to reposition your hook for the next round.
Step 4: Work Round Two
In each corner chain-2 space from the previous round, you’ll now work: three double crochet, chain 2, three double crochet. This creates two clusters in each corner, separated by the chain-2 space. Between the corners, you’ll also work a group of three double crochet stitches into the chain space between clusters, with a chain 1 to separate them. This is where your square starts growing outward and taking shape.
Step 5: Continue Adding Rounds
For each new round, you’ll continue the same basic rhythm:
- Work a cluster of 3 double crochets into each corner space (with a chain 2 in between the two clusters in that corner)
- Work a cluster of 3 double crochets into each side space (with a chain 1 in between clusters)
- Join at the end of each round with a slip stitch
Each round you add makes your square bigger. A traditional granny square is usually somewhere between 3 and 6 rounds, but you can keep going as large as you like.
Step 6: Fasten Off and Weave In Ends
Once your square reaches the size you want, cut your yarn leaving a 6-inch tail, pull it through the last loop to fasten off, and use your yarn needle to weave the tail through the back of your stitches so it’s secure and hidden.
Step 7: Block Your Square (Optional but Helpful)
Blocking means lightly wetting your finished square (or steaming it) and pinning it into a perfect square shape while it dries. This step isn’t required, but it makes your squares look much more polished and uniform, especially if you plan to join several together for a blanket.
Beginner Tip: Count your stitches after every round. If your square starts to look uneven or your corners are slipping out of place, it usually means a stitch was missed or added somewhere in the round before.
Common Mistakes Beginners Make
Almost everyone runs into these hiccups when they’re first learning. Here are the most common ones, and how to avoid them.
- Pulling stitches too tight. This makes it hard to insert your hook into the next round. Try to keep your tension relaxed and consistent.
- Losing count of stitches. It’s easy to lose track mid-round. Use a stitch marker or count out loud as you go.
- Skipping the turning chain or starting chain-3. Forgetting this changes your stitch count and throws off your corners.
- Not recognizing the “first” double crochet. The starting chain-3 counts as a stitch, which confuses a lot of new crocheters.
- Working into the wrong space. Granny squares involve chain spaces, not individual stitches, in many rounds. Working into the wrong spot distorts your square.
- Uneven tension between rounds. This creates a square that curls or ruffles at the edges instead of lying flat.
- Forgetting to join each round. Skipping the slip stitch join causes your rounds to spiral instead of stack neatly.
- Using the wrong hook size for the yarn. A mismatched hook and yarn weight leads to overly tight or overly loose fabric.
- Not counting rounds. Losing track of how many rounds you’ve completed makes it hard to make matching squares for a blanket.
- Cutting the yarn too short when changing colors. Leave enough of a tail (at least 6 inches) to weave in securely later.
- Ignoring gauge when following a pattern. If your square comes out a different size than expected, your tension may be tighter or looser than the pattern writer’s.
- Getting discouraged by the first square. Your first attempt is a learning square, not a finished product. Give yourself grace.
Beginner Tip: If something looks off, it’s almost always faster to unravel back a round or two (“frogging”) and re-work it than to try to fix it in place.
Troubleshooting Guide
| Problem | Likely Cause | Solution |
|---|---|---|
| Square is curling or cupping | Tension too tight, or too many stitches added | Loosen your grip on the yarn; recount stitches per round |
| Square is rippling or wavy | Too many stitches added per round | Check your corner and side stitch counts against the round before |
| Corners look uneven or lopsided | Missed a chain-2 space or worked into the wrong spot | Undo back to the last complete round and recount |
| Can’t find the “first” stitch of the round | Beginning chain wasn’t marked | Place a stitch marker in the top of your starting chain |
| Square won’t lie flat | Uneven tension across rounds | Try blocking the square once finished |
| Colors bleeding together at joins | Yarn ends not woven in tightly | Secure ends with a few extra stitches before trimming |
| Square is much bigger/smaller than the pattern says | Hook size or tension mismatch | Try a hook one size up or down to match gauge |
| Holes appearing where they shouldn’t | Skipped a chain space or stitch | Slow down and count each cluster as you complete it |
Beginner Tip: Keep a small notebook or note on your phone tracking your hook size, yarn brand, and any adjustments you make. It helps you replicate your best results later.
Granny Square Variations
Once you’ve mastered the granny square pattern basics, there’s a whole world of variations to explore.
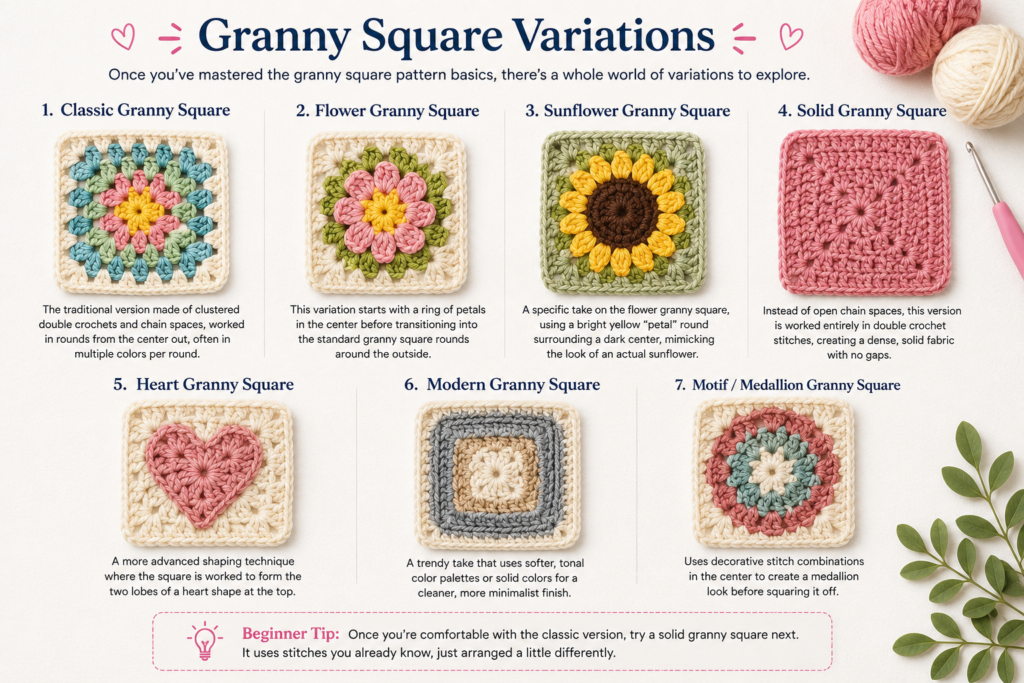
Classic Granny Square
The traditional version made of clustered double crochets and chain spaces, worked in rounds from the center out, often in multiple colors per round.
Flower Granny Square
This variation starts with a small ring of petals in the center (often made with single or double crochet) before transitioning into the standard granny square rounds around the outside. It’s a beautiful way to combine crochet flowers techniques with a classic square shape.
Sunflower Granny Square
A specific take on the flower granny square, using a bright yellow “petal” round surrounding a dark brown or black center, mimicking the look of an actual sunflower. It’s a favorite for fall-themed projects.
Solid Granny Square
Instead of open chain spaces, this version is worked entirely in double crochet or half double crochet stitches, creating a dense, solid fabric with no gaps. It’s great for projects that need more structure, like bags or placemats.
Heart Granny Square
A more advanced shaping technique where the square is worked partially, then split to form the two lobes of a heart shape at the top. These are popular for Valentine’s Day projects and baby blankets.
Modern Granny Square
A trendy take that swaps out the traditional multicolor, high-contrast look for softer, tonal color palettes or entirely solid colors, often with cleaner lines and a more minimalist finish.
Beginner Tip: Once you’re comfortable with the classic version, try a solid granny square next. It uses stitches you already know, just arranged a little differently.
Best Yarn for Granny Squares
Choosing the right yarn makes a bigger difference than most beginners expect. Here’s how the most common options compare.
| Yarn Type | Texture & Feel | Durability | Best For | Beginner Friendliness |
|---|---|---|---|---|
| Cotton | Crisp, sturdy, holds stitch definition well | High | Dishcloths, bags, home décor | Moderate (less stretchy, can be tougher on hands) |
| Acrylic | Soft, lightweight, widely available | High, machine washable | Blankets, baby items, everyday projects | Excellent (affordable and easy to work with) |
| Wool | Warm, elastic, great stitch memory | Moderate to high (needs gentle care) | Cozy blankets, sweaters, cold-weather items | Moderate (can be pricier, needs hand washing) |
| Blended Yarn (acrylic/wool/cotton mix) | Combines softness with durability | High | Versatile projects, garments | Excellent (best of both worlds) |
For most beginners, a worsted weight acrylic yarn is the easiest starting point. It’s affordable, forgiving, comes in tons of colors, and is easy to find stitch definition in while you’re still learning to see your stitches clearly.
Beginner Tip: Avoid fuzzy, novelty, or very dark yarns for your first granny square. Smooth, light-colored yarn makes it much easier to see where your hook needs to go.
Best Crochet Hooks
Hook size directly affects your gauge (how tight or loose your stitches are) and how easy the yarn is to work with. Here are beginner-friendly recommendations:
- Size G/6 (4.0mm): Great for lighter worsted weight yarn and smaller, tighter stitches.
- Size H/8 (5.0mm): The most common all-purpose size for worsted weight yarn and beginner projects. This is the best starting point for most people learning how to crochet a granny square for beginners.
- Size I/9 (5.5mm): A good option if you tend to crochet tightly, or if you want slightly larger stitches.
- Size J/10 (6.0mm): Works well with bulky yarn for a chunkier, faster-growing square.
Ergonomic hooks with a rubber or soft-grip handle are especially helpful for beginners, since they reduce hand fatigue during longer crochet sessions.
Beginner Tip: Stick with one hook size while you’re learning your first few squares. Switching sizes too early can make it harder to build consistent tension.
Products by Category
-
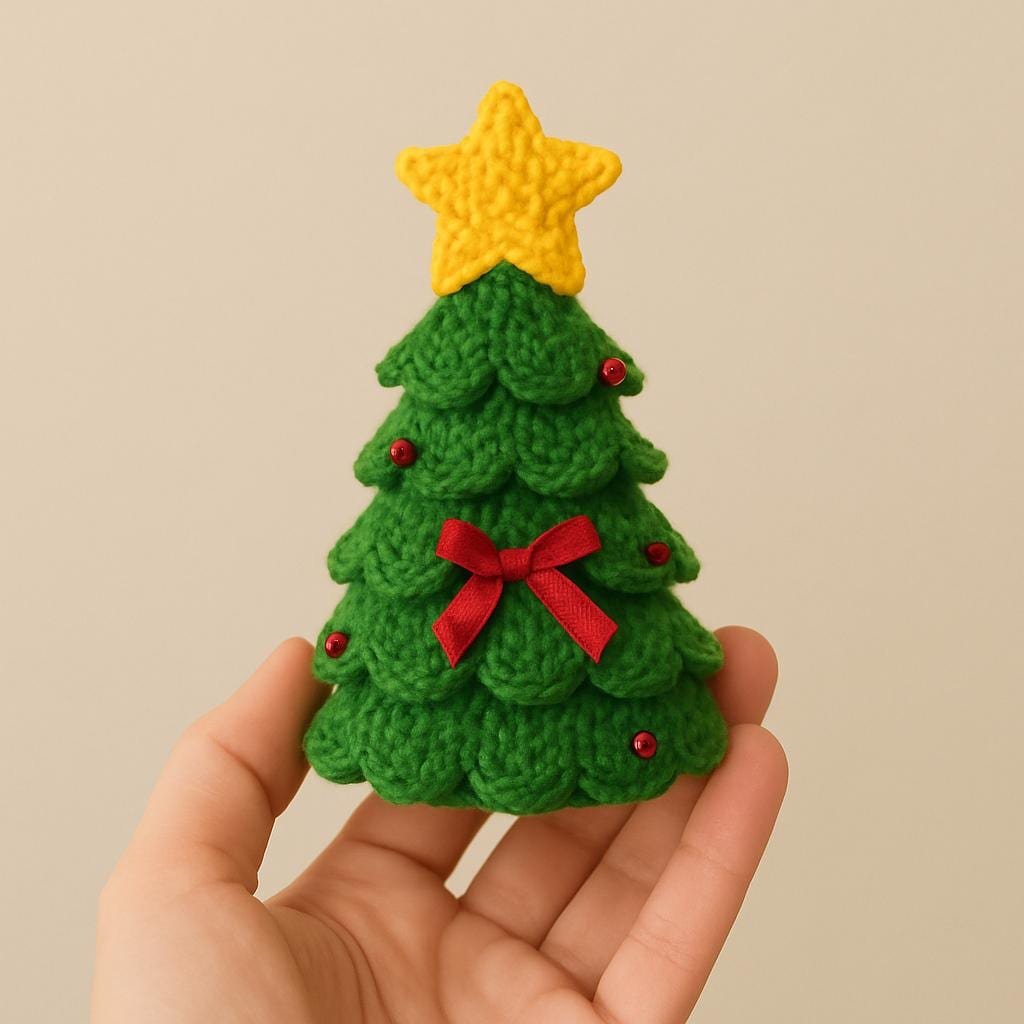
Christmas Cone Pattern PDF • Beginner Holiday Craft • Layered Leaves & Star Topper Tutorial
$3.00 -
Christmas Cone Pattern PDF • Beginner Holiday Craft • Layered Leaves & Star Topper Tutorial
$3.00 -
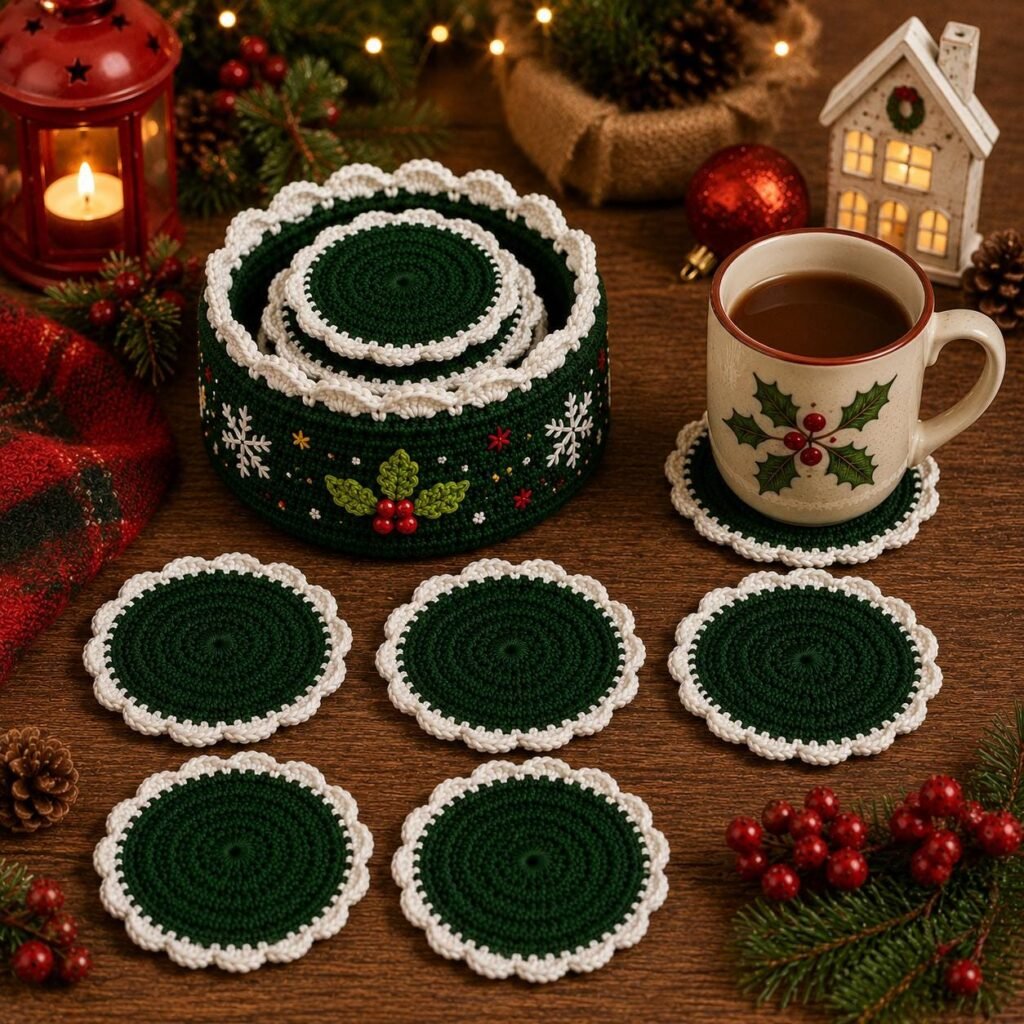
Christmas Crochet Coaster Holder Pattern | Beginner Festive Decor (PDF Download)
$3.00 -
Christmas Crochet Coaster Holder Pattern | Beginner Festive Decor (PDF Download)
$3.00 -
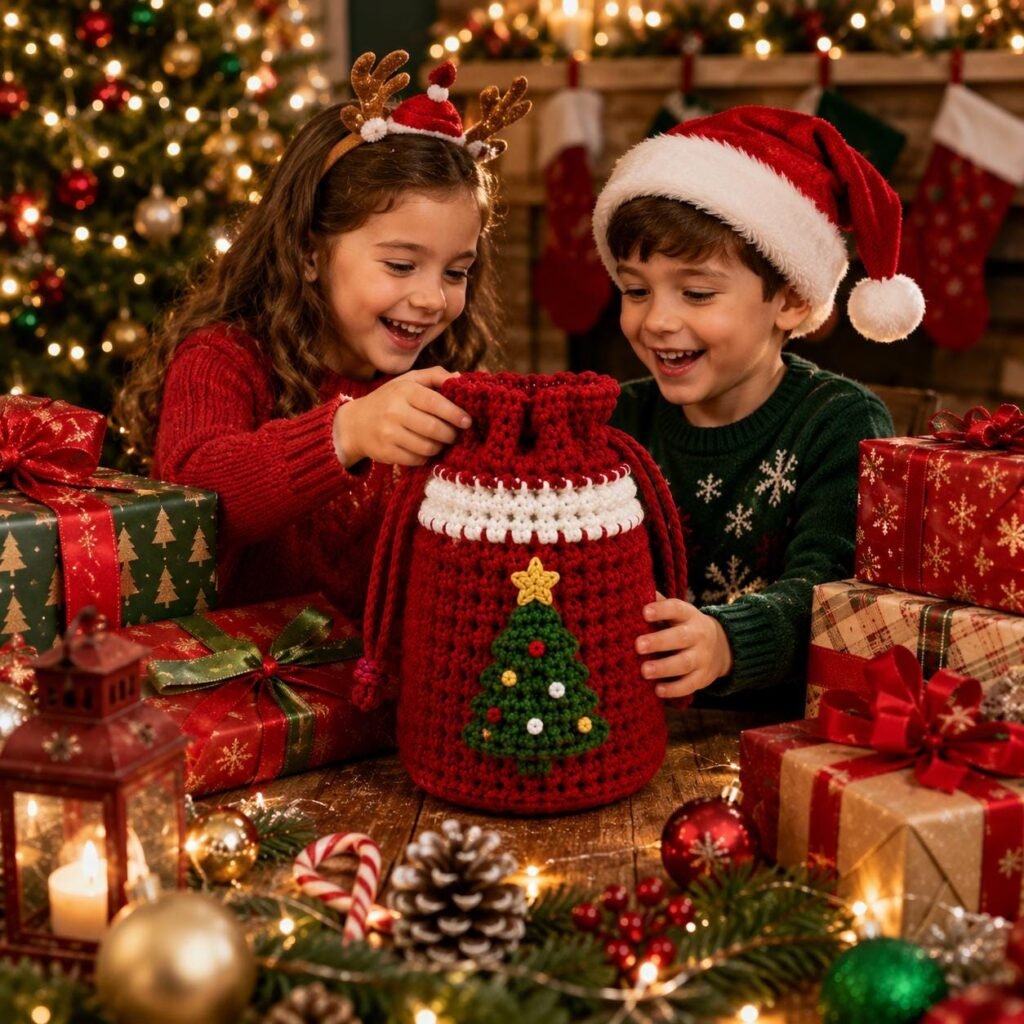
Christmas Crochet Gift Bag Pattern PDF | Beginner Crochet Drawstring Bag | Holiday Gift Bag Crochet Pattern | Christmas Tree Bag
$3.00 -
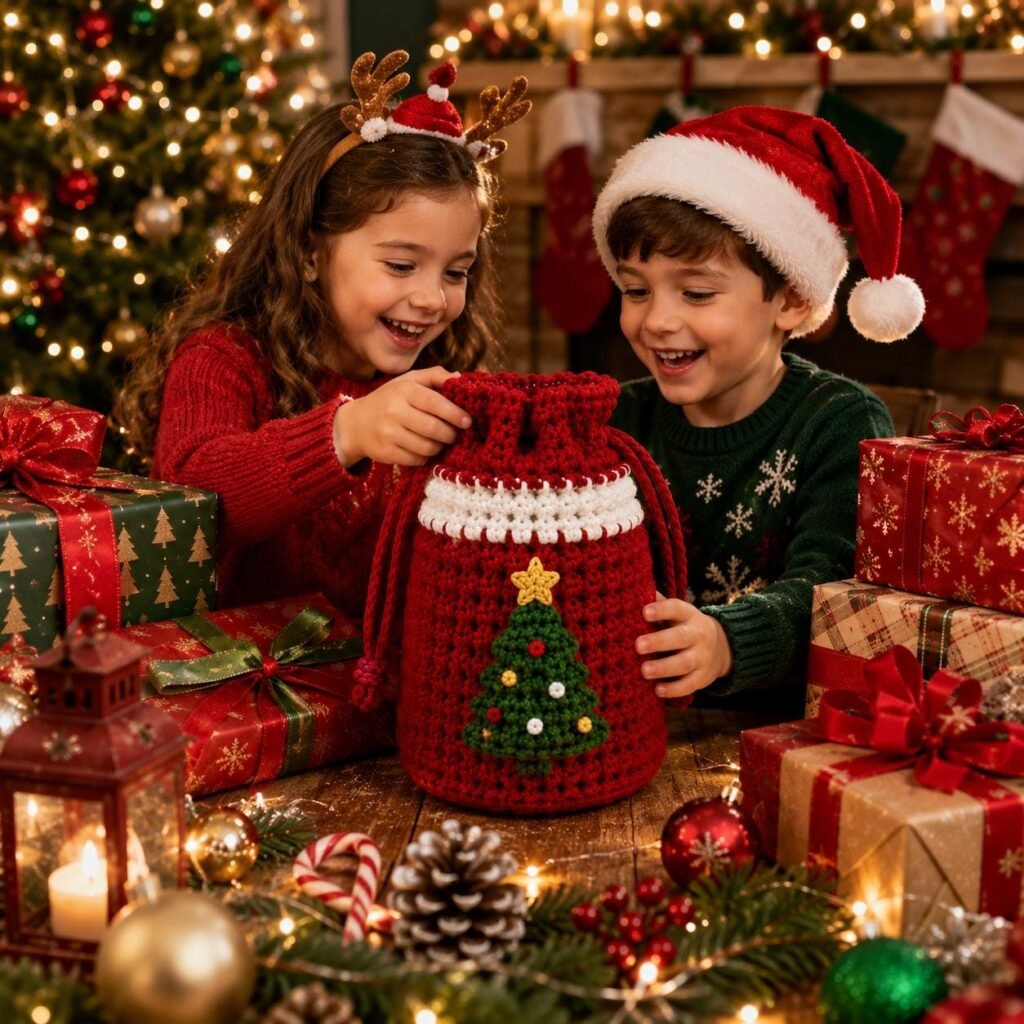
Christmas Crochet Gift Bag Pattern PDF | Beginner Crochet Drawstring Bag | Holiday Gift Bag Crochet Pattern | Christmas Tree Bag
$3.00 -
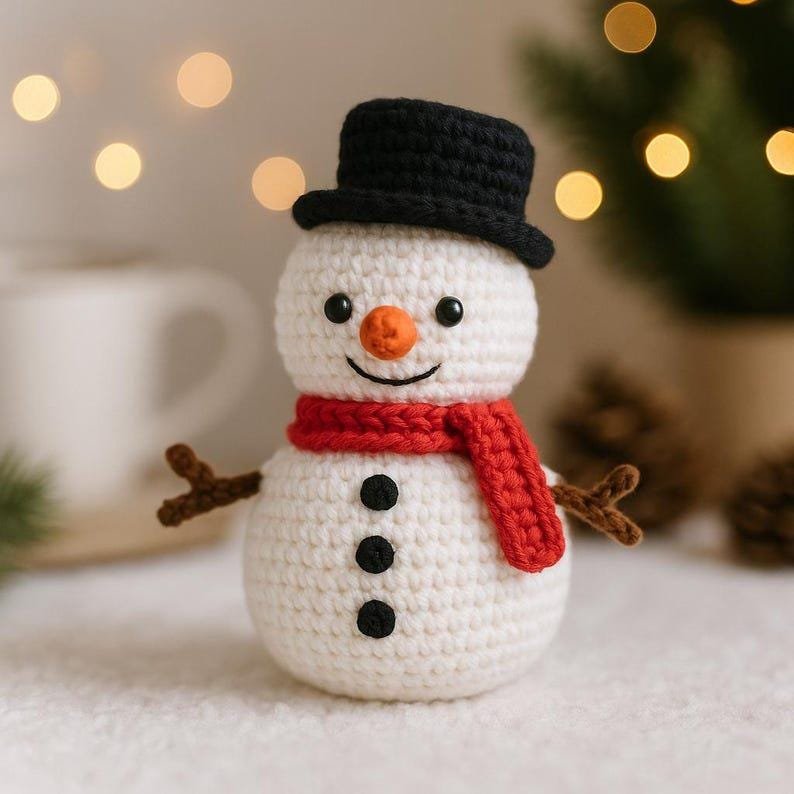
Christmas Crochet Pattern Bundle | Santa Keychain & Snowman Amigurumi | Beginner Holiday Crochet PDF
$6.00$3.00 -
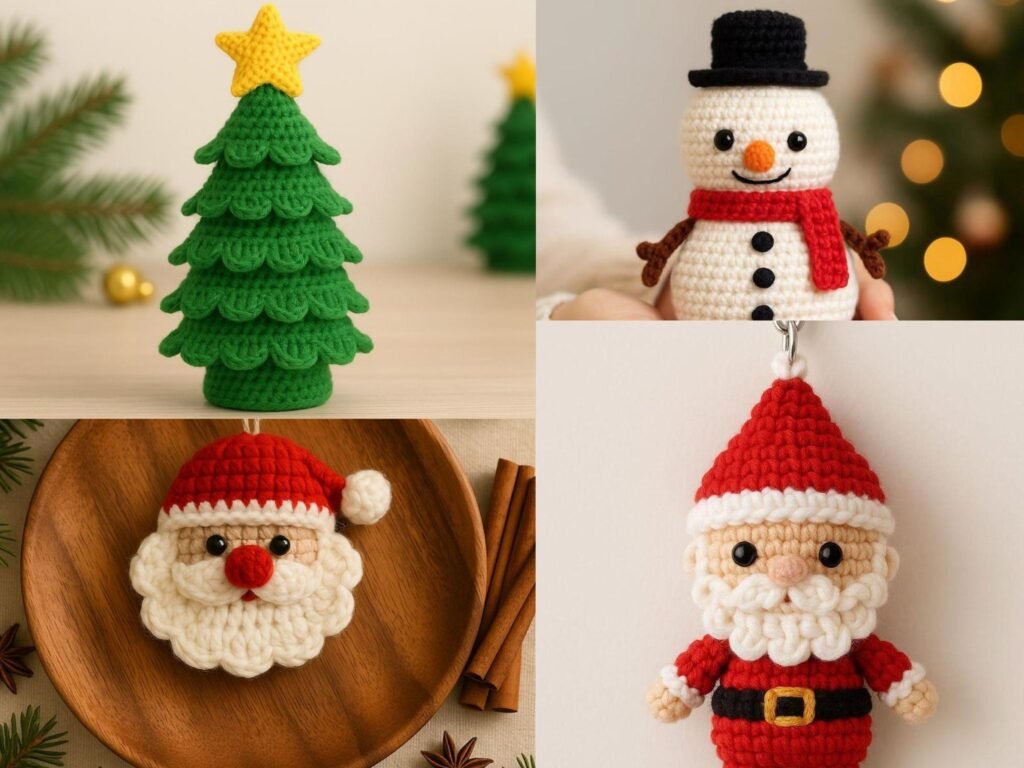
Christmas Crochet Pattern Bundle PDF – Snowman, Santa Keychain, Face Ornament & Christmas Tree
$6.00$3.00 -
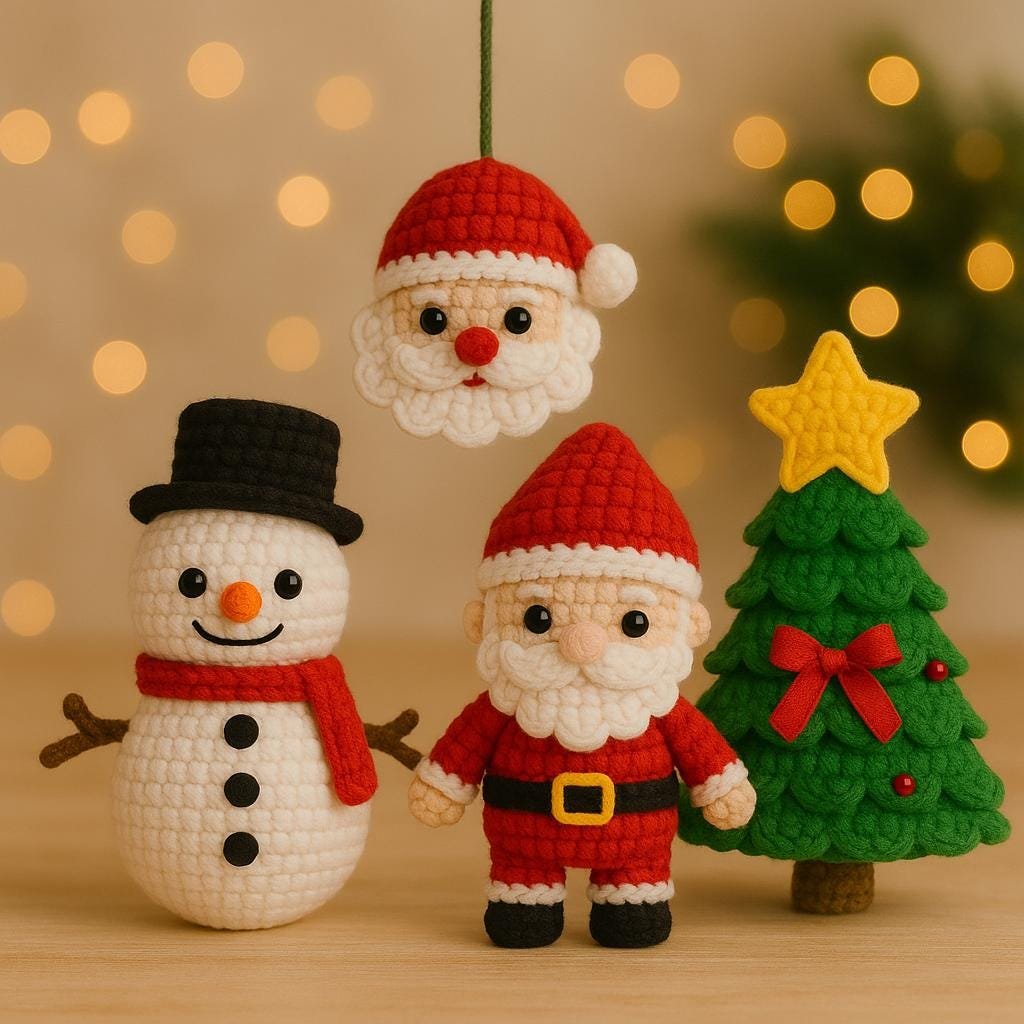
Christmas Crochet Pattern Bundle PDF – Snowman, Santa Keychain, Face Ornament & Christmas Tree
$3.00
Color Combination Ideas
One of the most fun parts of making a granny square blanket is choosing colors. Here are 20 creative palette ideas to inspire your next project.
- Cream, dusty rose, and sage green (soft cottagecore)
- Navy, mustard yellow, and white (retro classic)
- Terracotta, cream, and olive green (earthy autumn)
- Baby blue, blush pink, and white (gentle nursery)
- Charcoal gray, burnt orange, and cream (modern rustic)
- Lavender, soft yellow, and mint (spring pastel)
- Deep burgundy, forest green, and gold (holiday warmth)
- Turquoise, coral, and white (coastal summer)
- Black, white, and hot pink (bold contrast)
- Dusty blue, mauve, and cream (dreamy vintage)
- Bright yellow, orange, and brown (classic sunflower)
- Sage green, cream, and rust (neutral earth tones)
- Powder pink, gray, and white (minimalist baby blanket)
- Emerald green, gold, and cream (elegant jewel tones)
- Sky blue, white, and silver-gray (calm and airy)
- Peach, cream, and dusty teal (soft sunset)
- Red, white, and green (classic holiday)
- All-neutral: oatmeal, taupe, and ivory (modern minimalist)
- Purple, teal, and lime green (bright and playful)
- Rainbow scrap palette: any 6–8 colors from your stash (classic vintage granny)
Beginner Tip: If choosing colors feels overwhelming, start with a simple three-color palette: one light, one medium, and one dark shade. It’s a foolproof formula.
Granny Square Project Ideas
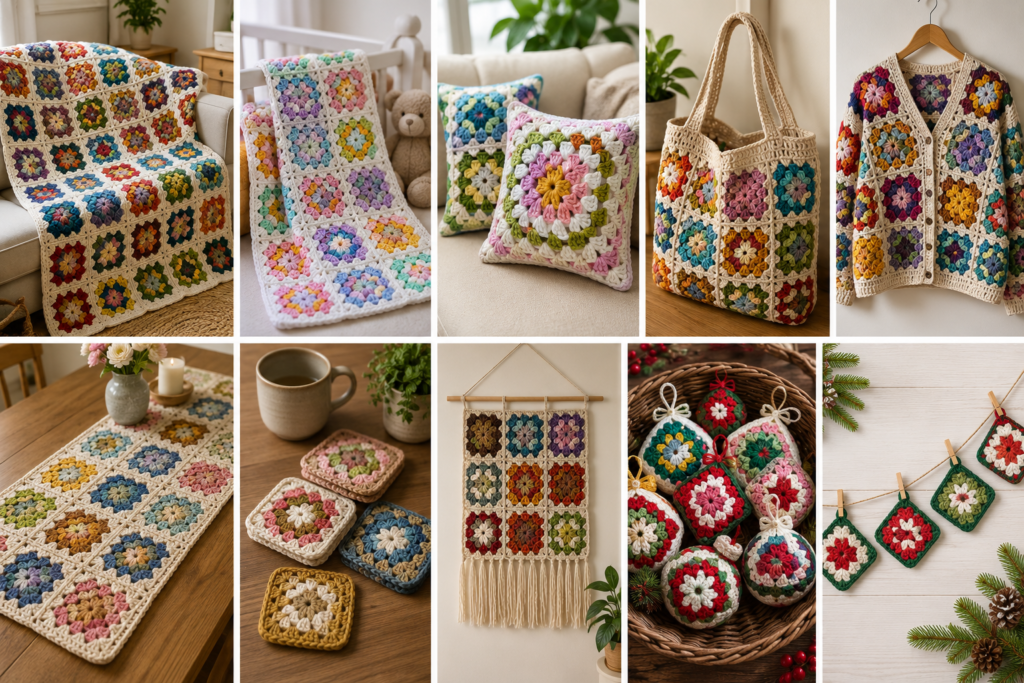
Once you’ve got a stack of squares, here’s where they can go:
- Blankets — the classic project, perfect for practicing joining techniques
- Granny square baby blanket — smaller and faster, using soft, washable yarn
- Pillows — a great way to use just 4 to 6 matching squares
- Bags and totes — solid granny squares work especially well here
- Sweaters and cardigans — an intermediate project once you’re confident joining squares
- Table runners — a strip of squares joined end to end
- Coasters — a single small square makes a quick, functional gift
- Wall hangings — frame a few squares or hang them from a dowel
- Christmas decorations — mini squares turned into ornaments or garlands
Beginner Tip: Start small. A coaster or a single pillow panel is a great “finish line” project before committing to a full blanket.
Care Instructions
Taking care of your finished granny square projects helps them last for years.
Washing
- Check the yarn label first. Acrylic yarn is usually machine washable on a gentle, cold cycle.
- Wool and delicate blends often need hand washing with a mild wool-safe detergent.
- Use a mesh laundry bag if machine washing to prevent snagging.
Drying
- Lay flat to dry whenever possible, especially for wool or blended yarns, to prevent stretching or shrinking.
- Avoid direct sunlight for long periods, which can fade colors over time.
- Skip the dryer for wool items unless the label specifically says it’s safe.
Storage
- Store finished pieces folded in a clean, dry place, away from direct sunlight.
- Use breathable cotton storage bags rather than sealed plastic to prevent moisture buildup.
- Add a cedar sachet or lavender pouch if storing long-term, to help deter moths.
Beginner Tip: Always keep a small swatch or leftover scrap of yarn from your project. It’s handy for future repairs and for remembering exactly which yarn and colors you used.
Frequently Asked Questions
1. What is the easiest granny square pattern for beginners? The classic granny square, made from repeating clusters of three double crochets and chain-2 corners, is the easiest and most beginner-friendly version to start with.
2. How long does it take to crochet one granny square? Most beginners can complete a basic square in 15 to 30 minutes once they’re comfortable with the stitch pattern.
3. What size hook should I use for a granny square? An H/8 (5.0mm) hook paired with worsted weight yarn is the most common beginner combination.
4. Do I need to know how to read patterns to make a granny square? Not necessarily. Many beginners learn the repeating rhythm of the granny square by watching tutorials or following simple written steps rather than a complex pattern.
5. What’s the best yarn for a granny square blanket? Worsted weight acrylic yarn is ideal for blankets because it’s soft, affordable, and machine washable.
6. Can I make a granny square without a magic ring? Yes. You can start with a simple chain-4 joined into a circle with a slip stitch instead of a magic ring.
7. How many rounds should a granny square have? A traditional granny square usually has 3 to 6 rounds, but you can add more rounds to make it larger.
8. Why does my granny square look wavy or ruffled? This usually means too many stitches were added in a round. Double-check your stitch count against the round before it.
9. Why is my granny square cupping instead of lying flat? Cupping is often caused by tension that’s too tight or by missing stitches in a round.
10. How do I join granny squares together? Squares can be joined using a whip stitch, slip stitch, or single crochet seam, sewing or crocheting through matching edges.
11. What’s the difference between a solid granny square and a classic one? A solid granny square is worked with no open chain spaces, creating a dense, gap-free fabric, while a classic granny square has visible chain spaces between stitch clusters.
12. Can beginners make a granny square blanket? Absolutely. Granny square blankets are one of the most beginner-friendly blanket projects because each square is small and manageable.
13. What stitches are used in a single crochet granny square? This variation replaces the traditional double crochet clusters with single crochet stitches, creating a tighter, more textured square.
14. How much yarn do I need for one granny square? A basic 4-inch square typically uses about 10 to 15 yards of worsted weight yarn, though this varies by size and yarn thickness.
15. Is crochet or knitting easier for beginners? Many beginners find crochet easier to learn first because mistakes are simpler to undo and you only work with one loop at a time in most stitches.
16. Can I use cotton yarn for a granny square baby blanket? Yes, though cotton is heavier and less stretchy than acrylic, so many crafters prefer a soft acrylic or cotton-acrylic blend for baby items.
17. What causes holes in my granny square? Holes usually happen when a chain space or stitch is accidentally skipped during a round.
18. How do I make my granny squares all the same size? Use the same yarn weight, hook size, and number of rounds for every square, and consider blocking them for a uniform finish.
19. What’s the best way to practice granny squares as a beginner? Make several practice squares in a row using the same yarn and hook, focusing on consistent tension before moving to a full project.
20. Can granny squares be made with any yarn weight? Yes, though beginners typically find worsted weight (medium, #4) yarn the easiest to see and control while learning.
21. How do I fix a mistake in the middle of a granny square? Unravel your stitches back to before the mistake (this is often called “frogging”) and re-work that section carefully.
22. What is the best beginner project after granny squares? Simple scarves, dishcloths, or amigurumi (small stuffed crochet toys) are popular next steps after mastering granny squares.
Conclusion
Learning how to crochet a granny square for beginners is genuinely one of the best decisions you can make if you’re new to yarn crafts. It’s approachable, forgiving, and endlessly rewarding once those little squares start piling up on your coffee table. Every crocheter, no matter how skilled, started with a slightly wonky first square, so don’t be discouraged if yours isn’t picture-perfect right away.
The beauty of the granny square is that it grows with you. You can start with a single classic square, and before long you’ll be experimenting with flower centers, solid stitches, and color palettes that reflect your own personal style. Keep practicing, keep a hook and yarn nearby for those in-between moments, and trust that your stitches will get more even with every square you make.
Ready to keep building your skills? Explore our other beginner crochet tutorials to keep growing your craft, one stitch at a time.