
Skill Level: ●●○○○ Beginner to Advanced Beginner
I have crocheted more amigurumi cats than I can count at this point, and the loaf cat is still the one I reach for when someone asks me where to start. There is a reason this shape has taken over craft fairs, Etsy shops, and Pinterest boards all at once. It is quick, it is forgiving, and it captures something real about how cats actually behave that other amigurumi poses just do not.
This is the complete loaf cat crochet pattern guide I wish I had when I made my first one. It covers everything from yarn selection to the small finishing touches that make a finished piece look intentional instead of accidental, and it is written for beginners, intermediate crocheters, Etsy sellers, and anyone who has ever bookmarked a cute cat crochet pattern and never gotten around to starting it.
What Is a Loaf Cat Crochet Pattern?
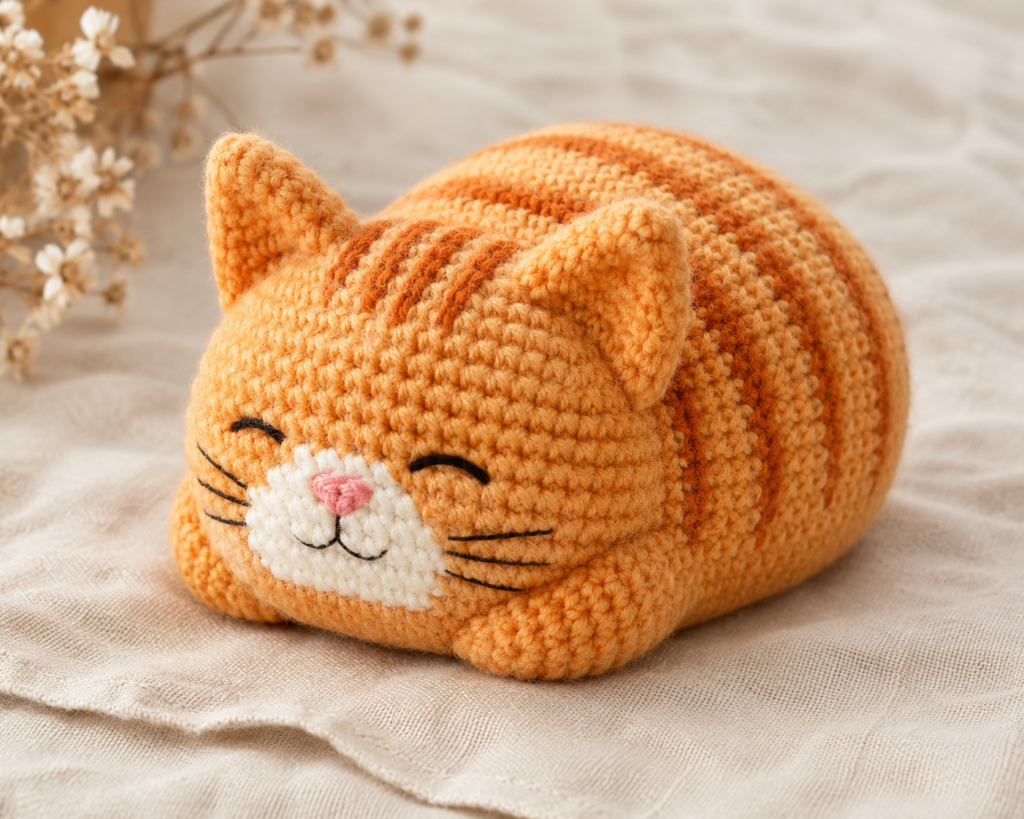
A loaf cat crochet pattern is an amigurumi design built around the “cat loaf” position, the pose cats fall into when they tuck all four paws underneath their body and settle into a compact, bread-shaped mound. Anyone who has owned a cat recognizes the pose instantly, which is exactly why it translates so well into a plush.
Unlike patterns with separate arms, legs, and joints, a Loaf Cat Crochet Pattern is usually built as one continuous oval body with a head, ears, and tail attached. That single detail changes everything about how the project feels to make. There is less seaming, fewer pieces to lose track of, and a much shorter path from cast-on to finished cat.
Most designers build the body from the base upward using single crochet worked in a continuous spiral, sometimes called amigurumi style. The head can be worked separately and sewn on, or in some patterns, shaped as a continuation of the body itself.
Why This Pattern Is So Popular Right Now
The loaf cat did not become popular by accident. A few things are working in its favor at once.
- It is genuinely relatable. Cat owners see this exact pose on their couch every day, which makes the finished plush feel personal rather than generic.
- It sells well. Etsy sellers consistently report that amigurumi cat patterns in the loaf pose move faster than more complex, multi-piece designs, likely because the finished product looks polished with less visible seaming.
- It is Pinterest-friendly. The compact, symmetrical shape photographs cleanly from almost any angle, which matters enormously for a platform built on visual discovery.
- It respects your time. Compared to a pattern with four limbs, a harness, and a tail all crocheted separately, a loaf body is dramatically faster.
- It is a gateway pattern. Many crocheters who try one loaf cat go on to make several, since the base shape is reusable across dozens of color and detail variations.
Pro tip: If you plan to sell finished pieces, photograph your loaf cat against a plain, neutral background. The clean lines of the loaf shape get lost in busy staging.
Skill Level and Who This Pattern Is For
This project sits at a beginner to advanced beginner level, and here is what that actually means in practice.
You will need to know single crochet, how to increase and decrease, and how to work in a continuous spiral without joining rounds. If you have made even one simple amigurumi ball or sphere before, you already have the core skills.
If you are brand new to crochet entirely, this is still a reasonable first amigurumi project, though I would recommend practicing single crochet and increases on a scrap swatch first so you are not learning tension and shaping at the same time.
Intermediate and experienced crocheters will find the real challenge is not technical difficulty but restraint. It is tempting to add every embellishment idea to your first loaf cat. Pick two or three details and let the shape speak for itself.
Materials You Will Need
| Item | Purpose | Notes |
|---|---|---|
| Worsted weight yarn (main color) | Body, head, ears, tail | Acrylic or cotton blend recommended |
| Contrast yarn (optional) | Paws, muzzle, belly patch | Small amount, under 10 grams typically |
| Black or brown yarn/floss | Nose and mouth embroidery | Embroidery floss gives finer detail |
| Crochet hook | Core construction | See hook size chart below |
| Polyester fiberfill | Stuffing | Look for toy-safe, machine-washable fill |
| Safety eyes or floss | Facial features | See safety tips section before choosing |
| Stitch marker | Tracking rounds | Locking marker strongly recommended |
| Tapestry needle | Sewing and weaving ends | Blunt-tip needle to avoid splitting yarn |
| Small scissors | Trimming yarn | Sharp, fine-point scissors work best |
| Stuffing tool (optional) | Packing fiberfill evenly | A chopstick or pencil eraser end works too |
Yarn Comparison: Which Yarn Works Best
Not all yarn behaves the same way once it is stuffed and handled. Here is how the most common options compare for a Loaf Cat Crochet Pattern
| Yarn Type | Stitch Definition | Durability | Beginner-Friendly | Best For |
|---|---|---|---|---|
| Acrylic (worsted) | Good | Excellent | Yes | Everyday plush, kids’ toys, gifting |
| Cotton | Excellent | Very good | Moderate | Display pieces, Etsy sales, crisp detail |
| Acrylic-cotton blend | Very good | Excellent | Yes | A balance of ease and definition |
| Chenille/velvet yarn | Poor (stitches blur) | Good | Difficult | Soft, realistic fur texture, advanced makers |
| Bulky/chunky acrylic | Fair | Good | Yes | Oversized loaf cats, quick projects |
Acrylic remains the most practical choice for most makers because it is affordable, machine washable in most cases, and forgiving of tension differences. Cotton is worth the extra effort if you are selling finished pieces and want crisp, professional-looking stitch definition in photographs.
Pro tip: Avoid mixing fiber types within a single project unless you have tested how they wash together. A cotton body with an acrylic contrast color can shrink unevenly after washing.
Hook Size Chart
| Yarn Weight | Recommended Hook Size | Resulting Fabric |
|---|---|---|
| DK (Light Worsted) | 3.0mm – 3.5mm | Smaller, denser finished piece |
| Worsted (Medium, #4) | 3.5mm – 4.0mm | Standard loaf cat size, most common |
| Aran/Heavy Worsted | 4.0mm – 4.5mm | Slightly larger, still tight fabric |
| Chunky/Bulky (#5) | 5.0mm – 6.0mm | Faster to work up, oversized cat |
| Super Bulky (#6) | 6.5mm – 8.0mm | Giant pillow-style loaf cat |
The rule that never changes with amigurumi: size your hook down from what the yarn label recommends. A tighter fabric hides stuffing and holds its shape far better than the drapey fabric you would use for a sweater or blanket.
Finished Size Chart
| Yarn Weight + Hook | Approximate Finished Length | Yarn Used (grams) |
|---|---|---|
| DK + 3.0mm | 4–5 inches | 30–45g |
| Worsted + 3.5mm | 5–7 inches | 50–80g |
| Aran + 4.0mm | 6–8 inches | 70–100g |
| Bulky + 5.5mm | 9–12 inches | 130–180g |
| Super Bulky + 7mm | 13–16 inches | 220–300g |
Finished size always varies somewhat based on personal tension, so treat this chart as a planning tool rather than a guarantee. If exact sizing matters for your project, crochet a small gauge swatch first.
Loaf Cat vs Other Amigurumi Cat Poses
If you are deciding between a loaf cat and a different Loaf Cat Crochet Pattern pose, here is how they generally compare.
| Pose | Construction Complexity | Average Time | Seaming Required | Beginner Suitability |
|---|---|---|---|---|
| Loaf (tucked paws) | Low | 3–5 hours | Minimal | Excellent |
| Sitting (upright) | Moderate | 5–8 hours | Moderate | Good |
| Sleeping (curled) | Moderate | 4–7 hours | Moderate | Good |
| Standing (four legs) | High | 8–12 hours | Extensive | Challenging |
The loaf pose wins on speed and simplicity because the body is one continuous shape rather than a torso plus four separately attached limbs. If you enjoy the process and want more of a challenge next, the sitting or sleeping pose is a natural next step.
Time Required
Most crocheters comfortable with amigurumi finish a standard-sized loaf cat in 3 to 5 hours of active crochet time. If you are newer to the craft, budget closer to 6 to 8 hours, especially while you are still building speed with continuous rounds.
Facial embroidery and attaching safety eyes typically add another 20 to 40 minutes, depending on how detailed you want the expression.
Crochet Abbreviations
Written in US crochet terms, which is the standard for most Loaf Cat Crochet Pattern instructions:
- ch – chain
- sc – single crochet
- sl st – slip stitch
- inc – increase (2 sc in the same stitch)
- dec – decrease (sc2tog, two stitches worked as one)
- st(s) – stitch(es)
- rnd(s) – round(s)
- FO – fasten off
- BLO / FLO – back loop only / front loop only
- MR – magic ring
- [ ] – repeat the bracketed instructions the stated number of times
If you learned crochet using UK terminology, remember that a US single crochet corresponds to a UK double crochet. Always confirm which system a specific pattern uses before you begin.
Printable Materials Checklist
Copy this list into your notes app or print it before your next craft store trip.
- [ ] Worsted weight yarn, main color
- [ ] Contrast yarn for paws or muzzle (optional)
- [ ] Black or brown yarn/floss for face
- [ ] 3.5mm–4.0mm crochet hook
- [ ] Polyester fiberfill
- [ ] Safety eyes, size 8mm–10mm (or embroidery floss)
- [ ] Locking stitch marker
- [ ] Tapestry needle
- [ ] Small sharp scissors
- [ ] Stuffing tool or chopstick
- [ ] Straight pins (for test-placing eyes and nose)
Pro Tips Before You Start
- Use a stitch marker every single round. Amigurumi has no joining slip stitch, so it is remarkably easy to lose your place without one.
- Count stitches at the end of every round, particularly through increase and decrease sections. A miscount three rounds back is much harder to fix than one you catch immediately.
- Swatch before committing if you are using a new yarn or hook combination for the first time.
- Stuff in stages, not at the end. Add fiberfill as you go rather than trying to force it through a small closing gap.
- Pin your safety eyes before attaching them. Step back and look at the spacing from a distance before locking the washers in place, since this step is not reversible.
- Keep tension even. Loose stitches let stuffing peek through and read as unfinished, even on an otherwise well-shaped piece.
Step-by-Step Construction Overview
Every designer’s exact stitch counts differ, but the general sequence for a loaf cat crochet pattern looks like this.
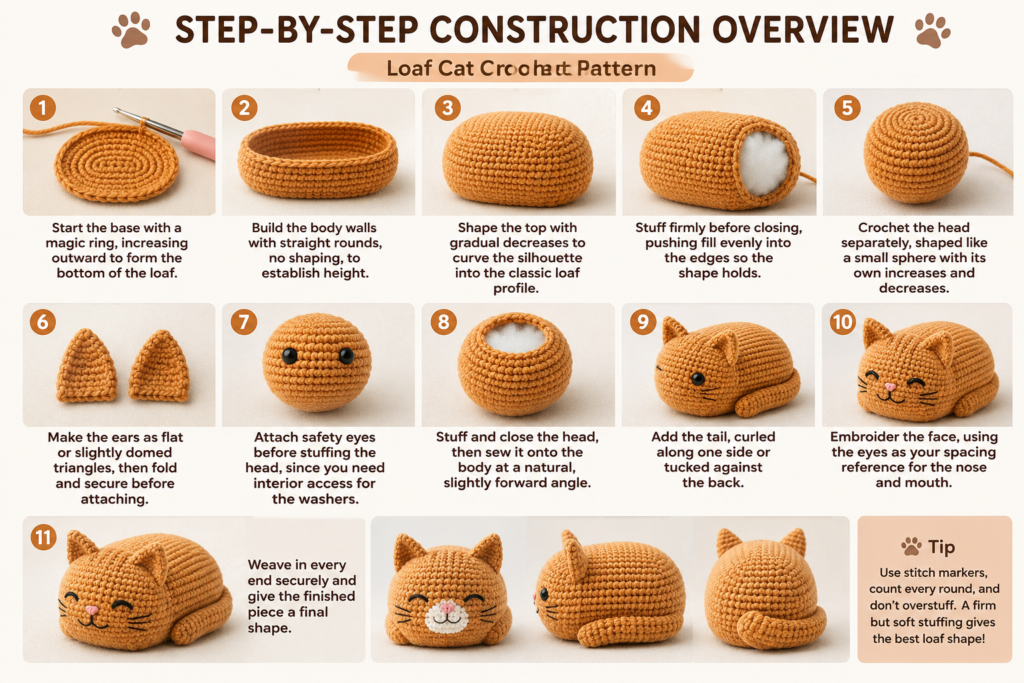
- Start the base with a magic ring, increasing outward to form the bottom of the loaf.
- Build the body walls with straight rounds, no shaping, to establish height.
- Shape the top with gradual decreases to curve the silhouette into the classic loaf profile.
- Stuff firmly before closing, pushing fill evenly into the edges so the shape holds.
- Crochet the head separately, shaped like a small sphere with its own increases and decreases.
- Make the ears as flat or slightly domed triangles, then fold and secure before attaching.
- Attach safety eyes before stuffing the head, since you need interior access for the washers.
- Stuff and close the head, then sew it onto the body at a natural, slightly forward angle.
- Add the tail, curled along one side or tucked against the back.
- Embroider the face, using the eyes as your spacing reference for the nose and mouth.
- Weave in every end securely and give the finished piece a final shape.
Top rated products
-
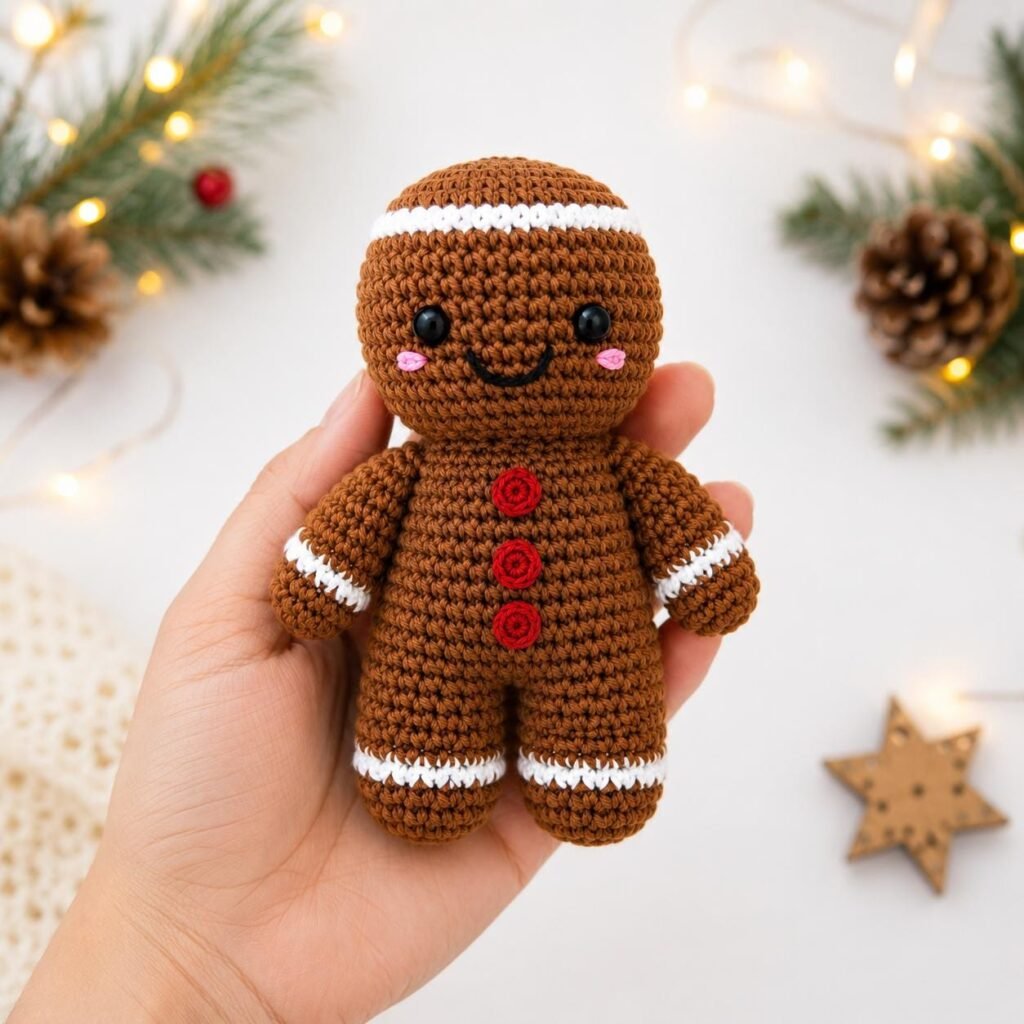
Crochet Gingerbread Cookie Amigurumi Pattern | Beginner Friendly Christmas Doll (PDF Download)
$3.00 -
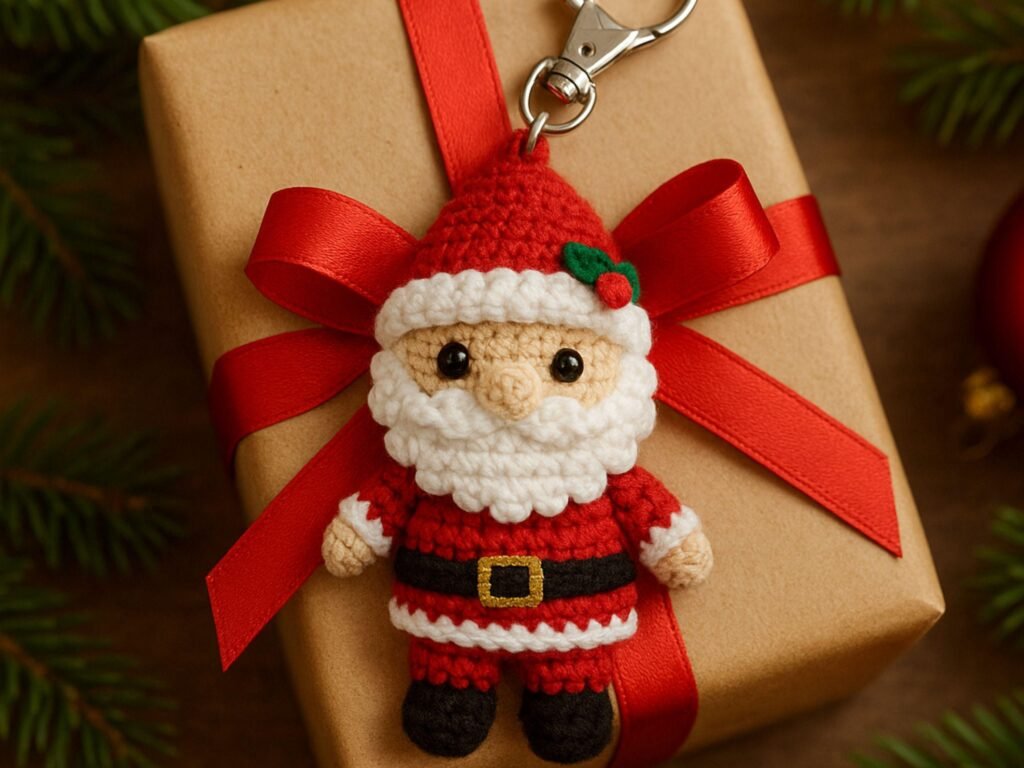
Santa Claus Amigurumi Crochet Keychain Pattern PDF | Beginner Digital File
$3.00 -
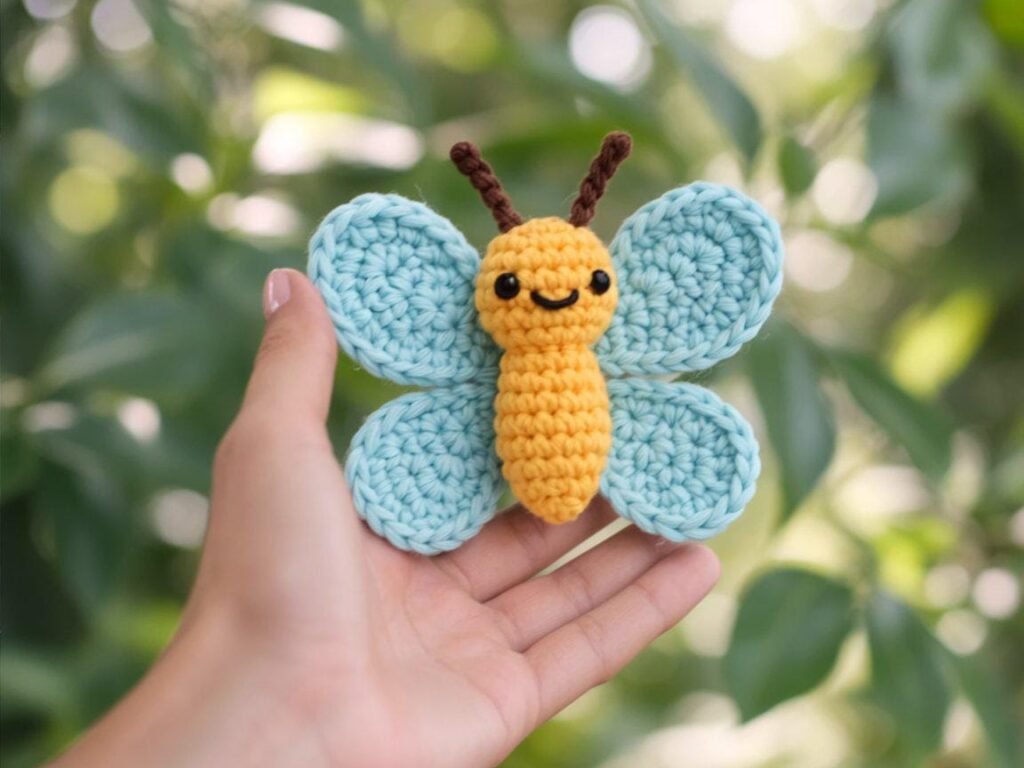
Butterfly Crochet PDF Pattern | Amigurumi DIY Small Toy & Ornament Download
$522.00 -
Easy Crochet Pumpkin Pattern, Textured Amigurumi PDF, Fall Halloween Decor (Beginner Friendly)
$6.00$3.00 -
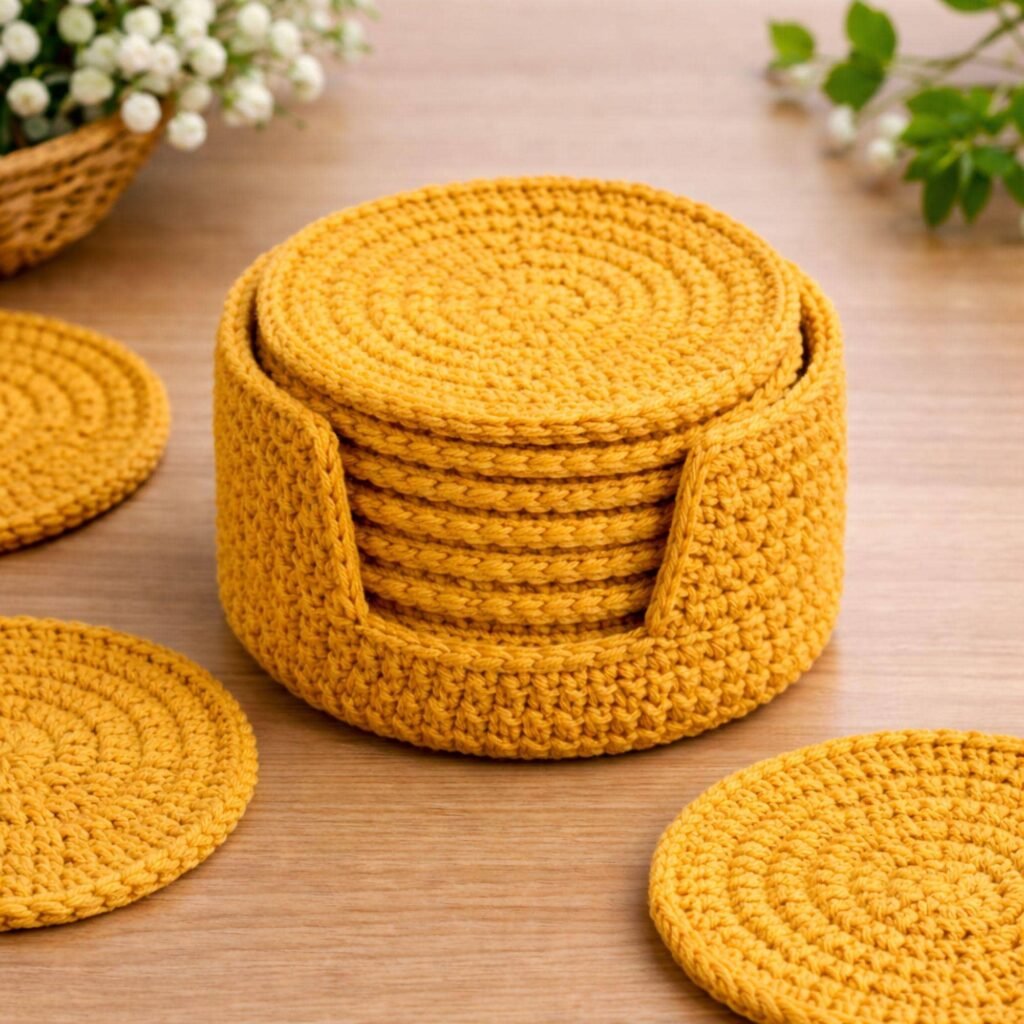
Golden Coaster & Holder Crochet Pattern | Beginner Friendly | 10 Coasters | PDF Download
$3.00
Common Mistakes to Avoid
- Under-stuffing. A loaf cat needs a firm, structural fill to hold its signature shape. Soft or floppy stuffing undermines the whole silhouette.
- Skipping the stitch marker. This is the single most common cause of miscounted rounds in continuous-spiral amigurumi.
- Rushing eye placement. Once safety eyes are locked in, they are extremely difficult to remove without damaging the fabric.
- Ignoring gauge entirely. If your finished size is noticeably off from the pattern’s stated measurements, tension is almost always the reason.
- Overloading the design with embellishments. A few well-placed details read as intentional. Too many compete with each other.
- Not blocking or shaping the finished piece. A quick fluff and reshape after stuffing makes a visible difference in the final presentation.
Customization Ideas
- Add a tiny crocheted mouse or yarn ball tucked under one paw
- Give your cat a small collar with a bell or bow
- Try folded ears for a Scottish Fold look, or tufted ear tips for a lynx-point style
- Crochet a matching miniature bed or box for the cat to “sit” in
- Make a graduated set: a full-size loaf cat with a matching mini kitten version
Color Inspiration
- Orange and white for a classic tabby
- Gray with white paws and muzzle for a Russian Blue look
- Solid black with green safety eyes for a bold, minimalist silhouette
- Cream and brown patches for a calico-inspired design
- Soft pastels like lavender or sage for a whimsical, non-realistic cat
- Deep charcoal with pink inner ears for a striking contrast piece
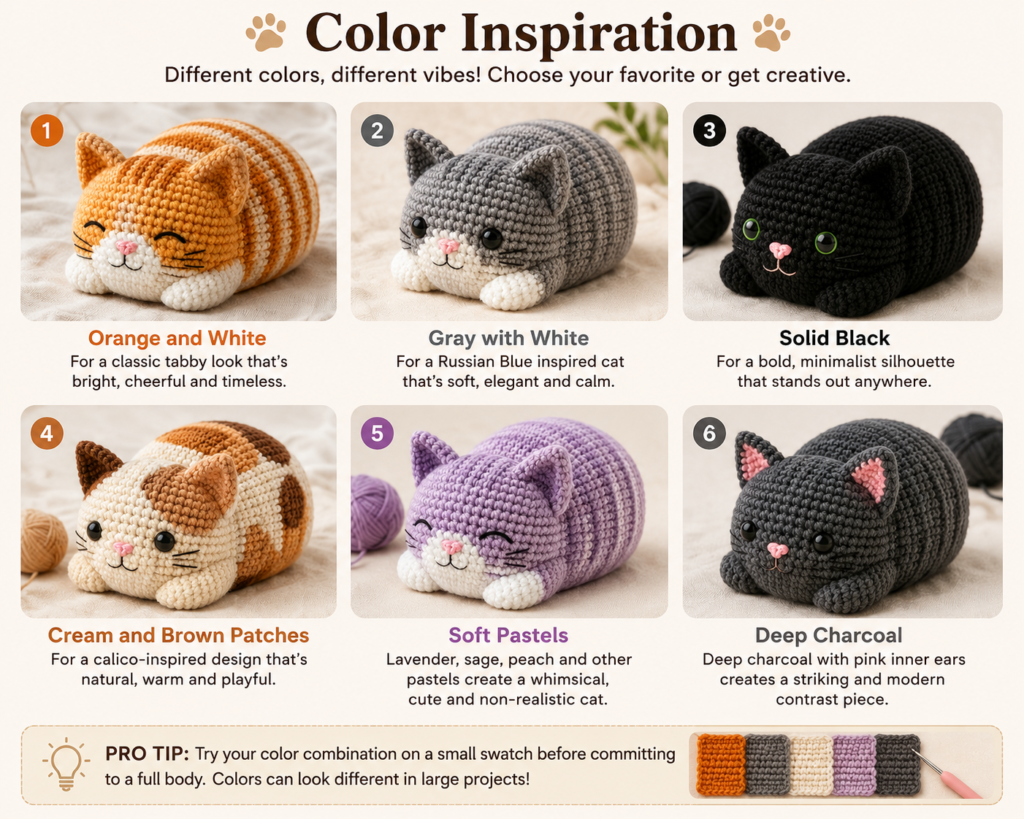
Pro tip: Try your color combination on a small swatch before committing to a full body. Some color pairings that look good in the skein read very differently once worked up in stitches.
Safety Tips
Safety matters more in amigurumi than almost any other type of crochet, since finished pieces are often handled, hugged, and occasionally chewed on.
- Safety eyes are not recommended for children under three. They present a choking hazard if pulled loose, even with quality backing washers.
- Embroidered eyes are the safer alternative for nursery items or toys intended for infants and toddlers.
- Use toy-safe, certified fiberfill rather than repurposed stuffing of unknown origin.
- Reinforce all seams with a whip stitch or similar secure method, especially on pieces that will see frequent handling.
- Avoid small, detachable embellishments like buttons or beads on any item intended for young children.
Care Guide
- Spot clean with a damp cloth and mild soap for light dust or dirt.
- Hand wash in cool water if a full clean is needed, then reshape and lay flat to dry.
- Avoid machine washing and drying, since agitation and heat can clump the fiberfill and warp acrylic yarn.
- Keep out of prolonged direct sunlight to prevent color fading over time.
- Store in a breathable fabric bag rather than sealed plastic if not displayed regularly.
Where to Use and Gift Ideas
A finished loaf cat works well as a desk companion, a nursery accent, a paperweight, a photo prop for an Etsy shop listing, or a travel comfort object tucked into a bag.
As a gift, a handmade crochet cat feels personal in a way that store-bought items rarely do. A few ideas that consistently land well:
- Match the yarn color to the recipient’s actual cat
- Add a small embroidered or cardstock name tag
- Pair it with a matching crocheted catnip toy for their real-life pet
- Make a miniature keychain version using the same base construction
- Include a short handwritten care card for first-time recipients of handmade gifts
Selling Finished Loaf Cats
If you plan to sell loaf cats made from a pattern you purchased, check the designer’s specific licensing terms before listing anything. Many independent pattern designers allow a reasonable number of finished sales, sometimes with a credit requirement or small royalty, while others reserve the pattern for personal use only.
Respecting designer licensing supports the small businesses that many independent crochet designers run, and it protects you as a seller from potential disputes down the line. When in doubt, a quick message to the designer clears up any ambiguity.
Related Crochet Cat Patterns
- Sitting cat amigurumi pattern
- Sleeping curled cat plush
- Mini cat keychain pattern
- Cat-shaped granny square coaster
- Crochet cat ear headband
Frequently Asked Questions
1. What is a loaf cat crochet pattern? A loaf cat crochet pattern is an amigurumi design shaped like a cat sitting in the “cat loaf” position, with its paws tucked under a rounded, oval body.
2. Is a loaf cat pattern good for beginners? Yes. The simple oval body without separate limbs makes it one of the more approachable amigurumi cat pattern designs for someone new to crochet.
3. What crochet stitch is used for a loaf cat? Almost all loaf cat patterns use single crochet worked in continuous spiral rounds, without joining slip stitches between rounds.
4. How much yarn do I need for a loaf cat amigurumi? A standard worsted weight loaf cat typically uses 50 to 80 grams of yarn total, including any contrast colors for paws or a muzzle.
5. What hook size works best for a crochet loaf cat? A 3.5mm to 4.0mm hook is standard for worsted weight yarn, sized down from the label to create a tight fabric that holds stuffing.
6. How long does it take to crochet a loaf cat? Most experienced amigurumi crocheters finish one in 3 to 5 hours, while newer crocheters typically need 6 to 8 hours.
7. Can I make a loaf cat without safety eyes? Yes. Embroidered eyes are a safe, attractive alternative and are the better choice for toys intended for young children.
8. Why is my amigurumi cat coming out lopsided? Lopsided results are usually caused by inconsistent tension, a miscounted stitch during a shaping round, or uneven stuffing distribution.
9. What yarn is best for a loaf cat crochet pattern? Worsted weight acrylic or acrylic-blend yarn is the most practical choice for most makers, balancing affordability, durability, and ease of use.
10. Can I sell loaf cats made from a purchased pattern? It depends on the individual designer’s licensing terms, so always check the specific pattern’s policy before listing finished items for sale.
11. How big is a finished loaf cat? Using worsted weight yarn and a standard hook, most finished loaf cats measure 5 to 7 inches long, though size varies with yarn weight.
12. Do I need special tools for this pattern? No specialized tools are required beyond standard amigurumi supplies: a hook, yarn, fiberfill, a tapestry needle, and a stitch marker.
13. How do I stop stuffing from showing through my stitches? Use a smaller hook than the yarn label recommends and avoid working your stitches too loosely.
14. What is the difference between a loaf cat and a regular amigurumi cat? A loaf cat is a specific pose within amigurumi cat patterns, built as one continuous tucked-paw body rather than a cat with separate visible limbs.
15. Can experienced crocheters still enjoy this pattern? Yes. Experienced makers often use the loaf cat as a template for color experimentation, breed-inspired variations, and quicker gift projects.
16. Is cotton or acrylic yarn better for a loaf cat? Acrylic is more beginner-friendly and durable for everyday handling, while cotton offers crisper stitch definition for display or sale pieces.
17. How do I keep my rounds from getting off track? Use a locking stitch marker and move it up at the start of every new round, and count stitches at the end of each one.
18. What should I do if my loaf cat looks too small or too large? Check your gauge against the pattern’s stated measurements. Sizing differences almost always come down to tension or hook size.
19. Can I make a giant loaf cat with bulky yarn? Yes. Switching to bulky or super bulky yarn with a larger hook produces an oversized, pillow-style loaf cat, often 9 to 16 inches long.
20. What is the best way to attach the head to the body? Sew the head on at a slightly forward angle using a whip stitch through both layers, checking placement with pins before securing it permanently.
Conclusion
A loaf cat crochet pattern earns its popularity honestly. It teaches real amigurumi fundamentals without demanding hours of limb-by-limb assembly, and it produces a finished piece that looks polished even on a first attempt. Whether you are making one to sell, one to gift, or simply one to keep on your desk, the process rewards patience with stitch counts and a bit of care during the finishing touches far more than it demands advanced technique.
If this is your first amigurumi project, start small, trust the process, and do not be surprised if one loaf cat quickly turns into several.