
Learning a new puff flower crochet pattern is one of the most satisfying ways to grow your skills without a huge time commitment. This particular design uses a raised anchor center and layered puff petals, giving it a fuller look than a typical flat crochet flower. In this guide, you’ll walk through every round with clear explanations, beginner tips, and common mistakes to avoid, so your finished flower turns out exactly as intended.
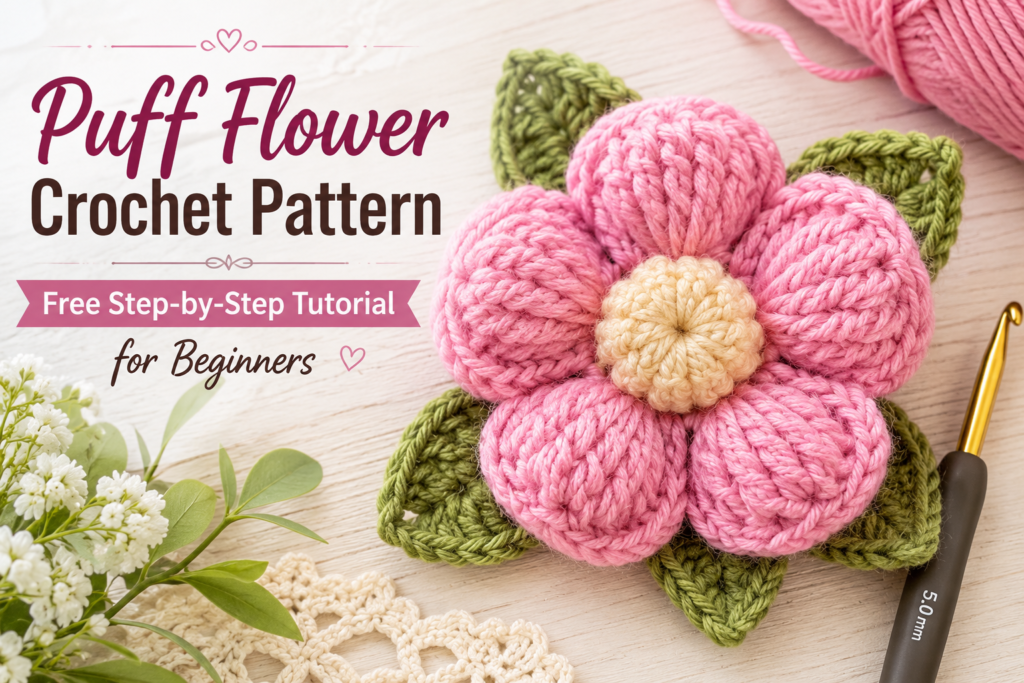
What Is a Puff Flower Crochet Pattern?
A puff flower crochet pattern is a small motif built around thick, raised puff stitches instead of flat single or double crochet loops. The puff stitch traps multiple loops on the hook before closing them together, which creates a rounded bump with real texture.
This particular puff flower crochet pattern goes a step further by anchoring the petals to raised front-post stitches rather than simple chain spaces. That construction gives the finished flower a fuller, more three-dimensional shape than most beginner patterns.
Materials Needed for a Puff Flower Crochet Pattern
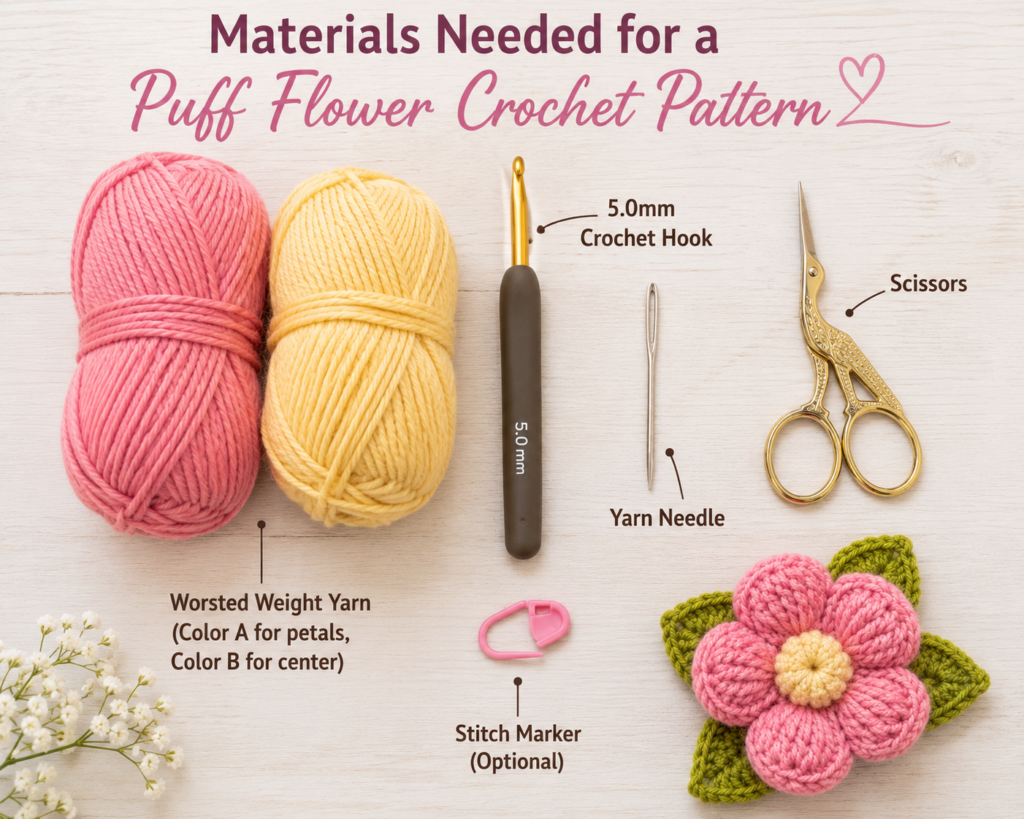
You only need a few basic supplies to get started.
- Worsted weight yarn (Color A for petals, Color B for the center)
- A 5.0mm crochet hook
- A yarn needle for weaving in ends
- Scissors
Because this puff flower crochet pattern uses small amounts of yarn, it’s a great way to use up leftover scraps from other projects.
Basic Stitches Used in a Puff Flower Crochet Pattern
Before starting the tutorial, get familiar with the stitches involved. This pattern relies on a mix of standard stitches and one raised anchor technique that makes it unique.
- MR (Magic Ring): Creates an adjustable starting loop
- sc (single crochet): Used in the center round
- hdc (half double crochet): Builds the petal bases
- FPsc (front post single crochet): Worked around the post of a stitch to create a raised anchor point
- Puff4: A four-loop puff stitch, closed together as one stitch
- sl st (slip stitch): Joins each round
Once these stitches feel comfortable, you’re ready to move into the full tutorial.
Free Puff Flower Crochet Pattern Tutorial
This tutorial uses US crochet terms. Read through each round once before starting so the stitch counts make sense as you go.
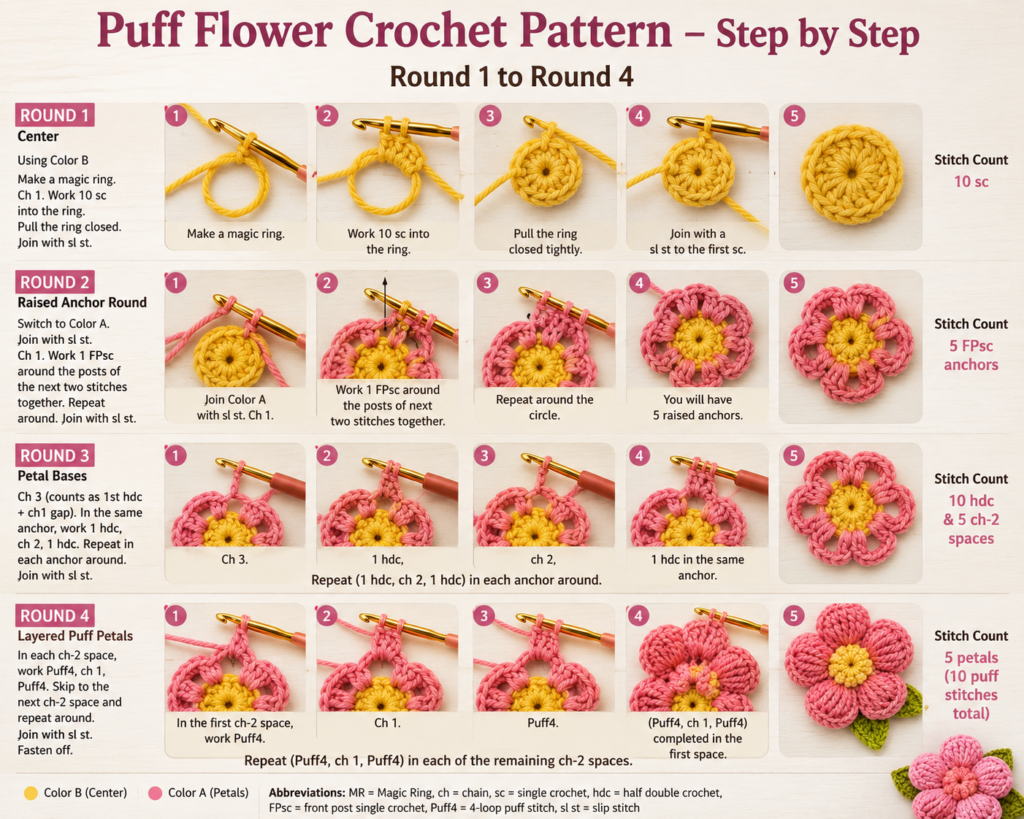
Round 1 — Center
Using Color B, make a magic ring. Chain 1 (this does not count as a stitch). Work 8 sc into the ring. Pull the tail to close it tightly, then join with a slip stitch to the first sc. Stitch count: 8 sc.
This round matters because it sets the foundation size for the entire puff flower crochet pattern. If the ring is too loose, the center will show a visible hole once the flower is finished.
A common beginner mistake is forgetting to pull the tail tight before working the first stitch, which leaves a gap in the center. Take your time closing the ring fully before moving forward, and count your stitches twice to confirm you have exactly 8.
Round 2 — Raised Anchor Round
Switch to Color A. Join with a slip stitch in any stitch. Chain 1, then work 1 FPsc around the post of that same stitch and the next stitch together. Repeat this “1 FPsc worked around 2 posts together” all the way around. This pulls the 8 stitches from Round 1 down into 4 raised anchor points. Join with a slip stitch to the first FPsc. Stitch count: 4 FPsc anchors.
This round is what makes this particular puff flower crochet pattern stand out, since it replaces flat chain spaces with raised, textured anchor points.
Beginners sometimes struggle to identify the post stitch at first. Go slowly, and remember that you’re wrapping your hook around the base of the stitch rather than working into the top loops like usual.
Round 3 — Petal Bases
Chain 3. Into the same anchor stitch, work 1 hdc, chain 2, then 1 hdc. Move to the next anchor point and repeat the same 1 hdc, chain 2, 1 hdc combination in each of the remaining three anchor points. Join with a slip stitch to the top of the beginning chain. Stitch count: 4 petal-base sets, totaling 8 hdc separated by 4 chain-2 spaces.
This round frames the spaces where your petals will eventually sit, so keeping your tension even here helps the finished puff flower crochet pattern look symmetrical.
A frequent mistake is skipping an anchor point by accident. Count your four anchor points from Round 2 before starting this round to make sure each one gets its own hdc pair.
Round 4 — Layered Puff Petals
Into the first chain-2 space, work Puff4, chain 1, Puff4, chain 1, Puff4, fanning three puff stitches into one space. Slip stitch between the hdc pair to secure it, then repeat the same cluster in the remaining three spaces. Fasten off, leaving a long tail for attaching the flower later. Stitch count: 4 petal clusters, each containing 3 puff stitches, for 12 puffs total.
This final round is where the puff flower crochet pattern really comes to life, since the fanned puff clusters create a fuller, ruffled look rather than a flat six-petal shape.
The most common mistake here is pulling the yarn too tightly while closing each puff stitch, which flattens the texture. Keep your loops relaxed as you work each puff so the petals stay raised and rounded.
Tips for Crocheting a Puff Flower Crochet Pattern
A few small habits can make a noticeable difference in your results.
- Keep even tension throughout, especially during the puff stitch rounds
- Count stitches after every round before moving forward
- Use a stitch marker to track your starting stitch in each round
- Lightly steam-block the finished flower so the petals curve outward
Practicing the Puff Flower Crochet Pattern Stitches Before You Begin
If you’re new to front post stitches or puff stitches, practice them separately on a scrap swatch first. This builds muscle memory so the full puff flower crochet pattern feels much smoother once you start Round 1.
On sale products
-
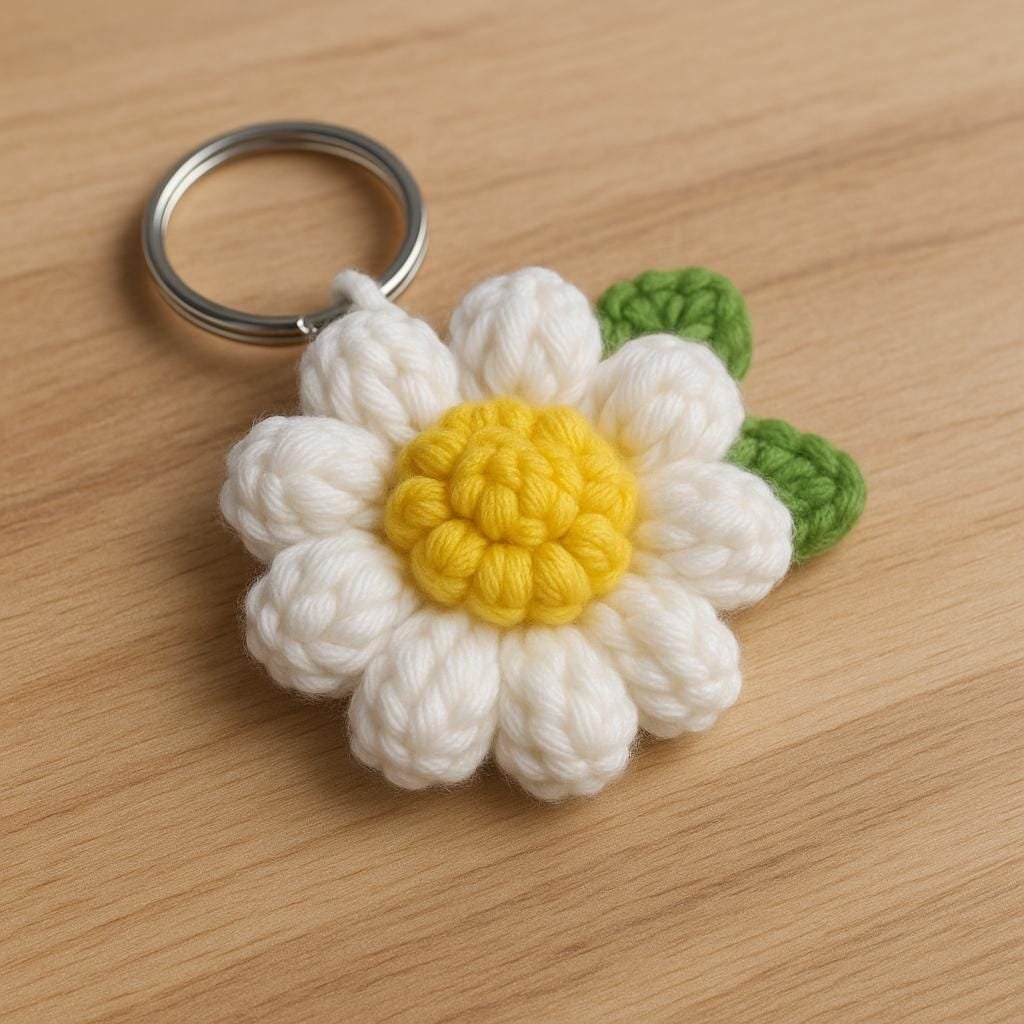
3D Daisy Keychain Crochet Pattern | Puff Stitch Flower PDF | Easy Crochet Gift Tutorial
$5.00$3.00 -
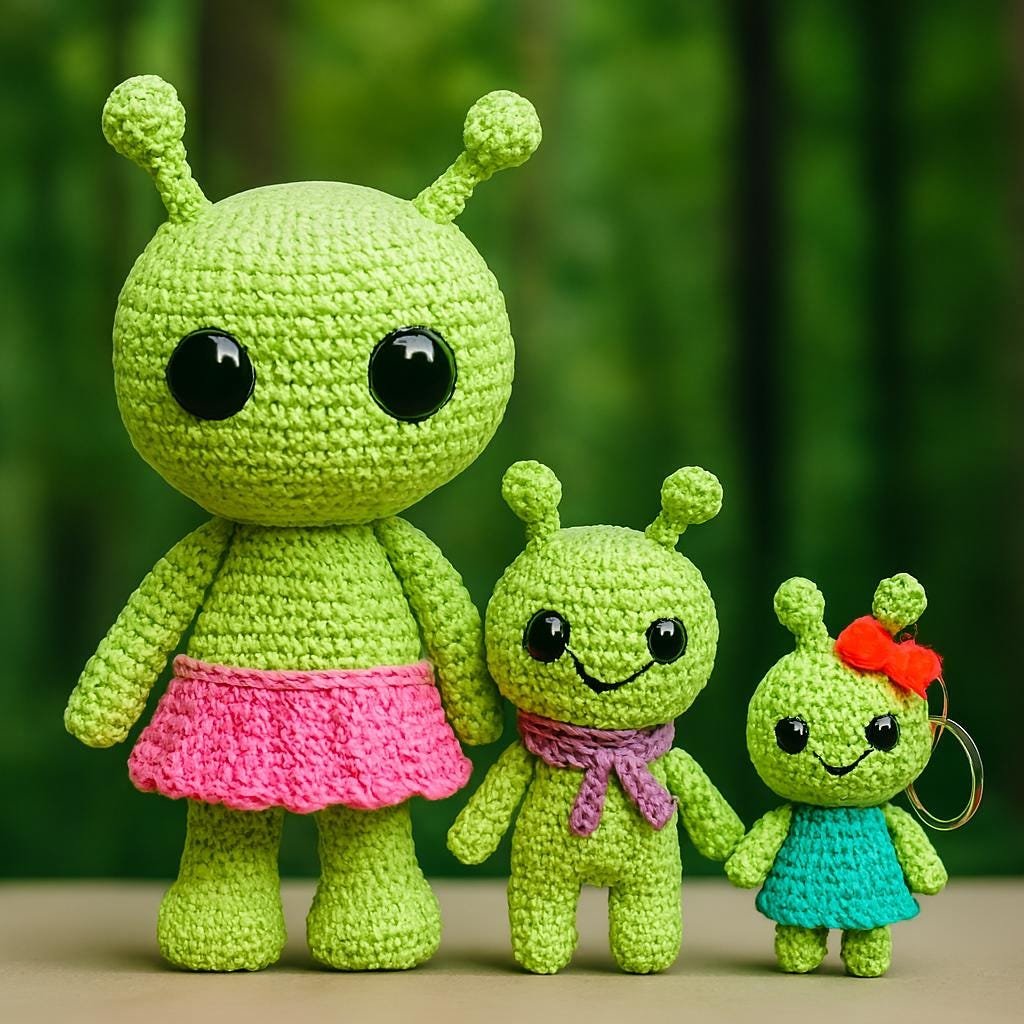
Alien Crochet Pattern Bundle, Amigurumi Plushie, Keychain Toy (PDF Download)
$6.00$3.00 -
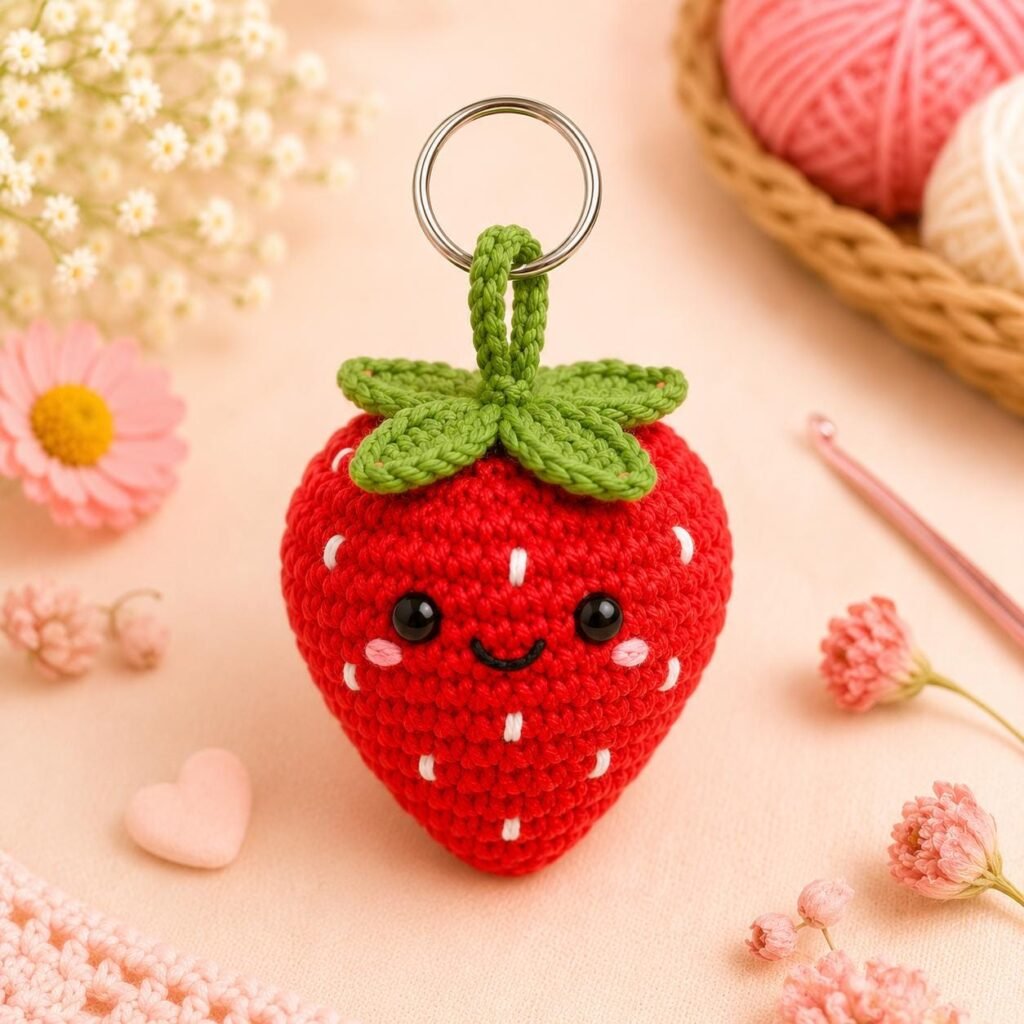
Amigurumi Fruit Keychain PDF, Kawaii Bag Charm Tutorial, Beginner DIY Gift Project, Easy Handmade
$5.00$3.00 -
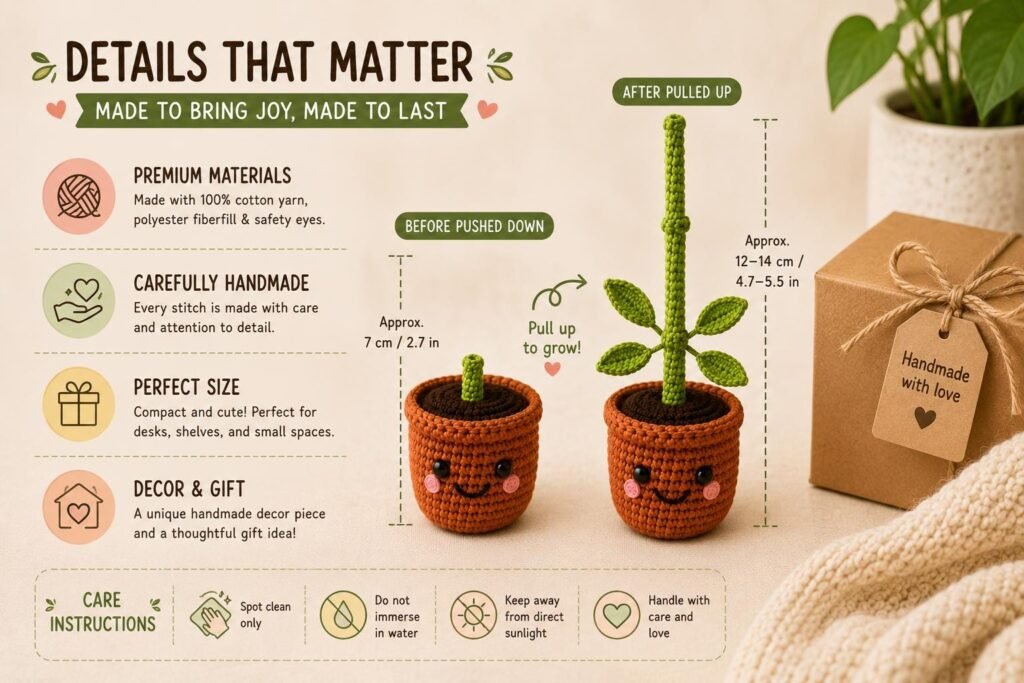
Amigurumi Plant Crochet Pattern PDF | Interactive Pull & Grow Pot Plant For Beginners
$6.00$3.00 -
Beatrix the Little Witch Crochet Pattern PDF
$6.00$3.00
Creative Ways to Use a Puff Flower Crochet Pattern
Once your flower is finished, there are plenty of ways to put it to use.
- Granny Squares: Sew one into the center for extra dimension
- Blankets: Scatter flowers across a border
- Hats: Attach to the side of a beanie
- Bags: Add to a tote or purse flap
- Hair Clips: Glue onto a clip base
- Keychains: Add a loop and clasp
- Pillows: Cluster several for a floral pillow cover
Puff Flower Crochet Pattern FAQs
Is this puff flower crochet pattern good for beginners? Yes, though the front post stitch in Round 2 may take a little practice. Once you understand that step, the rest of the pattern moves quickly and uses familiar stitches like hdc and puff stitches.
How much yarn do I need? This puff flower crochet pattern uses less than 10 yards total between both colors. It’s an excellent way to use up small yarn scraps without waste.
What size hook should I use? A 5.0mm hook works well with worsted weight yarn for this pattern. A smaller hook creates a tighter, firmer flower, while a larger hook produces a softer, looser texture.
Why does Round 2 use front post stitches? Front post stitches create raised anchor points instead of flat chain spaces. This gives the finished puff flower crochet pattern more dimension and a fuller, textured base for the petals.
Can I change the yarn colors? Yes, you can use any two colors, or even one color throughout. Many crocheters use a bold contrast color for the center to make it stand out against the petals.
How long does one flower take to make? Once you’re comfortable with the stitches, this puff flower crochet pattern typically takes 15 to 20 minutes to complete. The front post round may take a bit longer the first few times.
Final Thoughts on a Puff Flower Crochet Pattern
This puff flower crochet pattern offers a fresh take on a classic motif, thanks to its raised anchor round and layered puff petals. It’s a wonderful project for building confidence with post stitches and puff stitches alike. Once you’ve finished your first flower, you’ll likely want to make several more to decorate hats, bags, and blankets around your home.